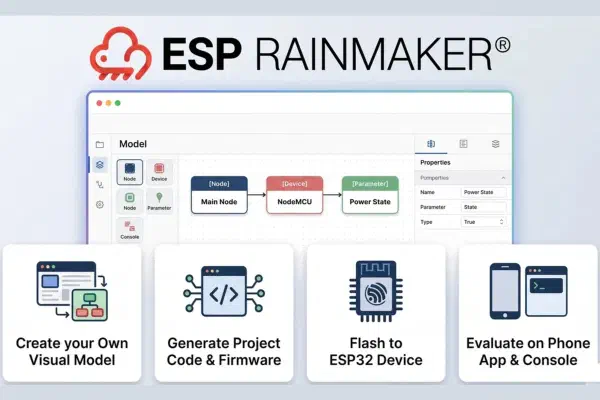
Build the project with ESP-IDF, flash it to an ESP32-C3 DevKit, provision it through the ESP RainMaker Home app, and verify every control, from app sliders to physical button presses.
Understand the generated app_devices.c scaffold and fill in the three driver sections: LED strip initialisation, BOOT button handling, and the FreeRTOS rainbow cycling task.
Open ESP RainMaker Studio, create a Rainbow LED project, add a custom device with Power, Brightness, and Cycle Speed parameters, and download the generated ESP-IDF project.
Learn to design an ESP RainMaker device data model using the Studio tool on Evaluation Hub, implement the ESP32-C3 hardware driver, and build, flash, and control a cloud-connected Rainbow LED from the ESP RainMaker Home app.