Making amazing lighting installations might seem very complex, requiring a lot of expensive hardware and software. However, it can’t be further from the truth. With an ESP32 or ESP8266 at hand and with the help of some software from our wonderful community, this is not that complex. Try it yourself, and you will be pleasantly surprised.
Today we will talk about a community project, created by Christian Schwinne a.k.a Aircoookie, called WLED.
WLED#
WLED is an open-source solution to control addressable LEDs based on the Arduino core for the ESP32 and ESP8266. It implements a web server to control the LED segments, creating a unique experience. WLED supports many outstanding features that allow you to create different lighting effects and advanced configurations, including various control interfaces, firmware upgrades OTA, scheduling, and much more.
For the full list of features, please visit the WLED documentation page.
How to use#
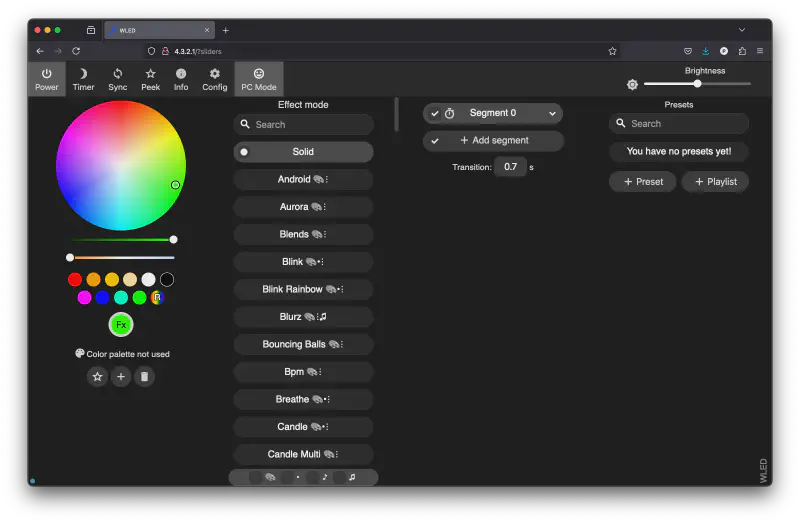
WLED can be used in many different ways, from lighting up a single LED strip (1D) to driving a whole LED matrix (2D). This allows you to create visual scenes in both 1D or 2D, using custom color palettes, special visual effects (currently 117 different ones), multiple segments, and macros.
To get started with WLED you will need one of the supported ESP32s, a power supply, and at least one addressable LED strip.
Currently, WLED supports the following Espressif SoCs:
- ESP8266
- ESP32
- ESP32-S2 (experimental)
- ESP32-S3 (experimental)
- ESP32-C3 (experimental)
The easiest way to get started is by flashing the WLED firmware using the online flashing tool, called the WLED web installer. This tool is only compatible with Chrome and Edge (desktop versions), and the only thing you will need is a USB cable connected to your ESP board.
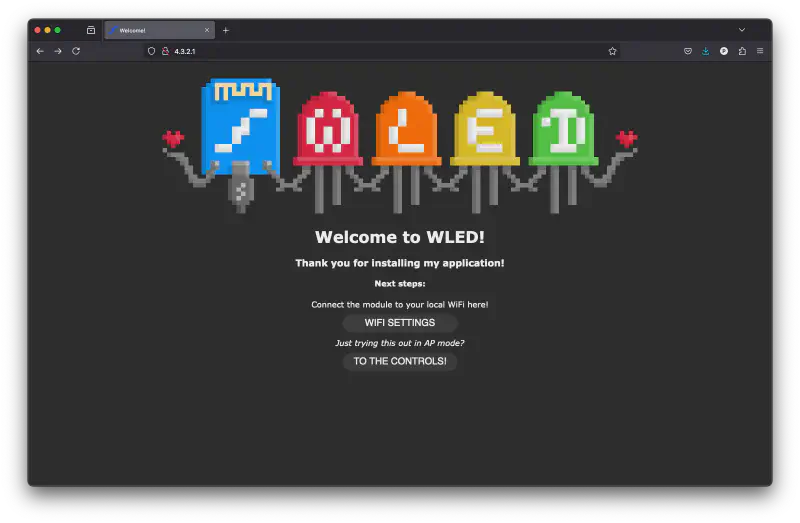
Flashing the firmware will only take a few minutes. No previous installation is required. After flashing, you can connect to the WLED device via Wi-Fi AP SSID called WLED-AP with the password wled1234, and then you will be able to open the web interface at the IP address 4.3.2.1 or wled.me.
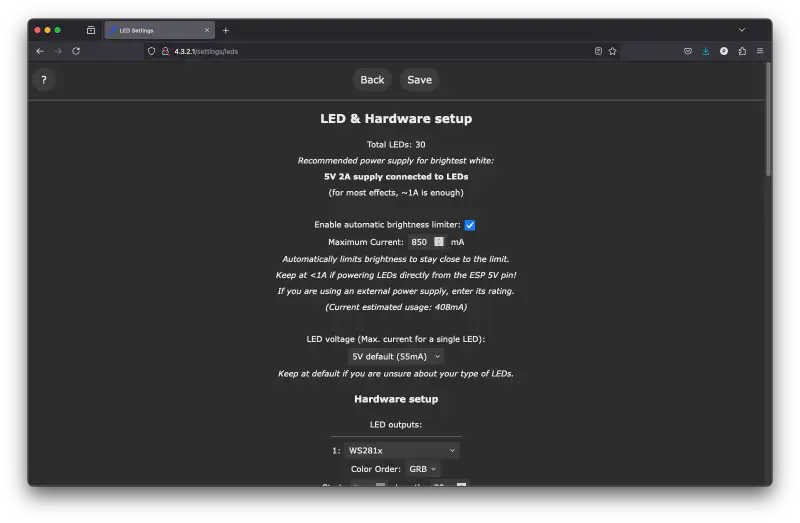
Once you have access to the WLED web interface, you will need to configure your Wi-Fi (if you want to control it via your local network), the LED strip settings, and then create effects presets and a playlist.
The web interface#
The web interface is very intuitive and easy to use. You can use it to do almost all the configuration required to get the WLED working with your LED strip.
Mobile application#
To get easy access to all WLED instances in your local network, you can use the mobile application:
Next steps#
The WLED website provides an outstanding getting started guide that will show you everything you need to know about the project and how to start your own WLED application. You can also find an extensive list of tutorials from the very active community.
To explore more options, interfaces, integration, and more, do take a deeper look into the WLED site!
Hardware#
To test the WLED project, we chose the ESP32-C3-Lyra V2.0 due to a number of features that simplify integration with LED strips.
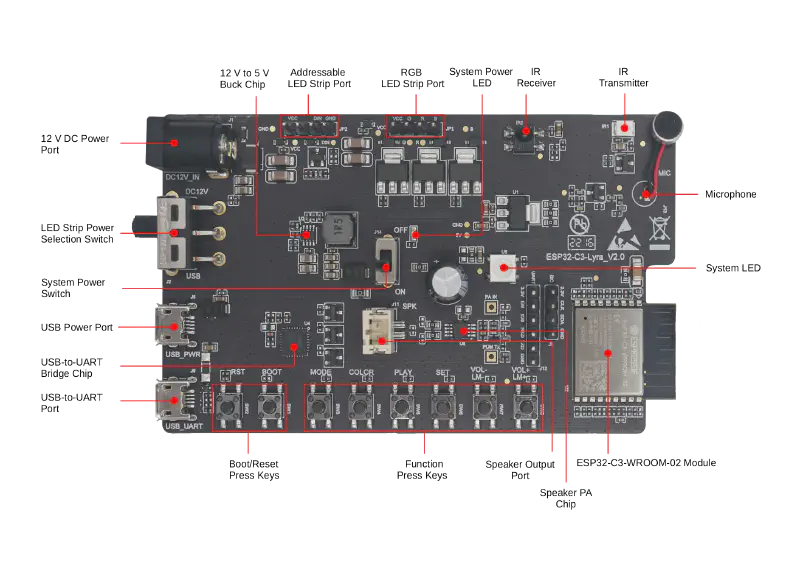
First and foremost, as you can see in the overview of components below, this board integrates two interfaces for LED strips:
- Addressable LED strip port (supported by WLED and used during testing)
- RGB LED strip port (not supported by WLED)
A 12V DC power port connector allows for direct use of 12V LED strips. It means that only one power supply is needed to power both the ESP32-C3 and the LEDs.
In addition, this board integrates a microphone for sound reactivity and an IR receiver for remote control; however, we didn’t try these features during our tests.
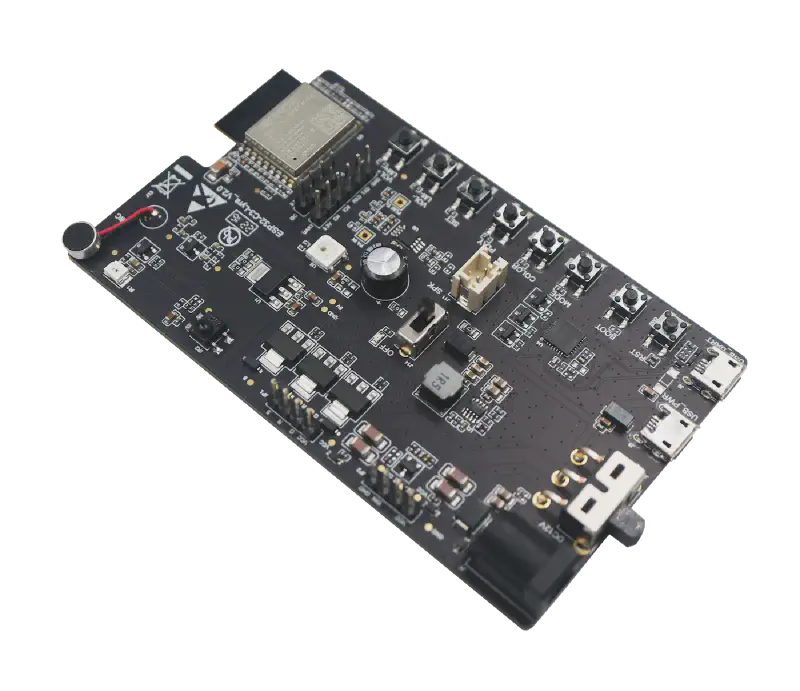
ESP32-C3-Lyra overview of components#
ESP32-C3-Lyra is an ESP32-C3-based audio development board produced by Espressif for controlling light with audio. The board has control over the microphone, speaker, and LED strip, perfectly matching customers’ product development needs for ultra-low-cost and high-performance audio broadcasters and rhythm light strips.
As mentioned before, the support for the ESP32-C3 is still experimental, but you can use it for testing purposes.
Conclusion#
WLED is one of the most popular community projects based on the Arduino core that uses the ESP32 and the ESP8266 and it’s actively maintained by the community. The project offers very intuitive documentation, making it easy for everyone to use the project without the need of creating the build environment or dealing with complex setup.
Thanks to all the project contributors for giving such an amazing solution for controlling LEDs.

