A few weeks ago in this article we have introduced SquareLine Studio and how it can be used to develop user interfaces. This feature was available only for Espressif’s boards. But what if we wanted to use this tool for our custom designed board based on an ESP chip with a custom LCD? Here is the solution!
What is the best way to add a custom board into SquareLine Studio? Start with the custom_waveshare_7inch example on from esp-bsp repository on GitHub. This example is based on the same code as other Espressif’s examples for SquareLine Studio. However there is one big difference. There must be a custom component similar to Espressif’s BSP with main functions for handling the LCD screen and initialization of the LVGL graphic library.
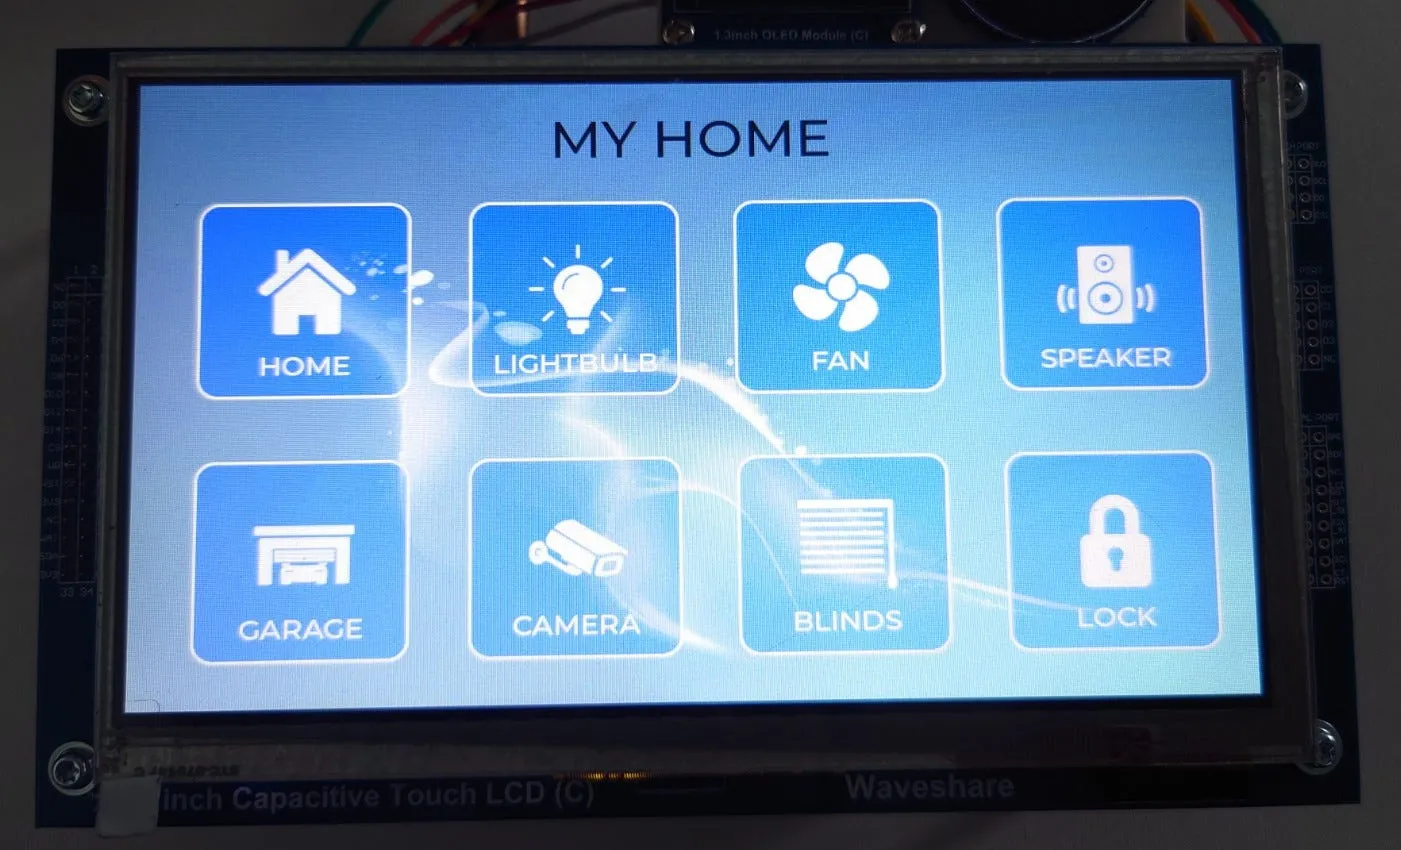
For this example we have selected the following LCD display: WaveShare 7inch 800x480 with RA8875 graphical controller and GT911 touch screen controller.
1. Making the custom BSP for your board#
First step in preparing the package for the SquareLine Studio is to make a component similar to BSP. You can see implementation for the 7inch WaveShare LCD in our example on GitHub, where only important functions are implemented in ws_7inch.c file. For other screens, the following functions should be changed:
/* LCD display initialization */
static lv_disp_t *lvgl_port_display_init(void)
{
    ...
}/* Touch initialization */
static esp_err_t lvgl_port_indev_init(void)
{
    ...
}
If the communication with thetouch screen isn’t over I2C, there must be initialization of the SPI or some other communication interface instead of this:
esp_err_t bsp_i2c_init(void)
{
    ...
}
Second part of making a custom BSP is to edit the header file ws_7inch.h . This is where are all pin configurations, communication speed configuration and screen size for the board are defined.
The last thing you should do is to modify CMakeLists.txt and idf_component.yml , when any filename changes or when you need to use another component for the LCD screen or touch screen. You should modify idf_component.yml in the main project too when the component name is changed.
2. The board description file and board image#
After the custom BSP is done, we can move to update the board description file____ manifest.json :
{
    "name":"Custom WaveShare 7inch",
    "version":"1.0.0",
    "mcu":"ESP32",    "screen_width":"800",
    "screen_height":"480",
    "screen_color_swap":true,    "short_description":"WaveShare 7inch Display",
    "long_description":"Example of the custom BSP and custom LCD",    "placeholders":
    {
        "__ESP_BOARD_INCLUDE__": "bsp/ws_7inch.h",
        "__ESP_BOARD_I2C_INIT__": "/* Initialize I2C (for touch) */\n    bsp_i2c_init();"
    }
}
Values name , version, mcu, short_description and long_description are only for displaying your board right in the SquareLine Studio. There can be anything. More important are values screen_width , screen_height and screen_color_swap , which define physical values for your LCD display. The placeholders should be updated with the right values from your custom BSP. The header file path into ESP_BOARD_INCLUDE and touch screen initialization function into ESP_BOARD_I2C_INIT .
Second file for update is board image____ image.png . There must be a board image in size 380px x 300px .
3. ESP-IDF and LVGL default configuration#
If you have any specific changes in IDF configuration or LVGL configuration, you can put it into sdkconfig.defaults file. The configuration option CONFIG_LV_COLOR_16_SWAP must be same like value in screen_color_swap in manifest.json file.
4. Generate and copy package for SquareLine Studio#
After all changes are done in files, create the package by run generator in root SquareLine generator folder:
python gen.py -b custom_waveshare_7inch -o output_folder
The package will be generated into espressif folder in output_folder . The last step is to copy this generated package espressif/custom_waveshare_7inch into the boards folder in the SquareLine Studio installation folder.
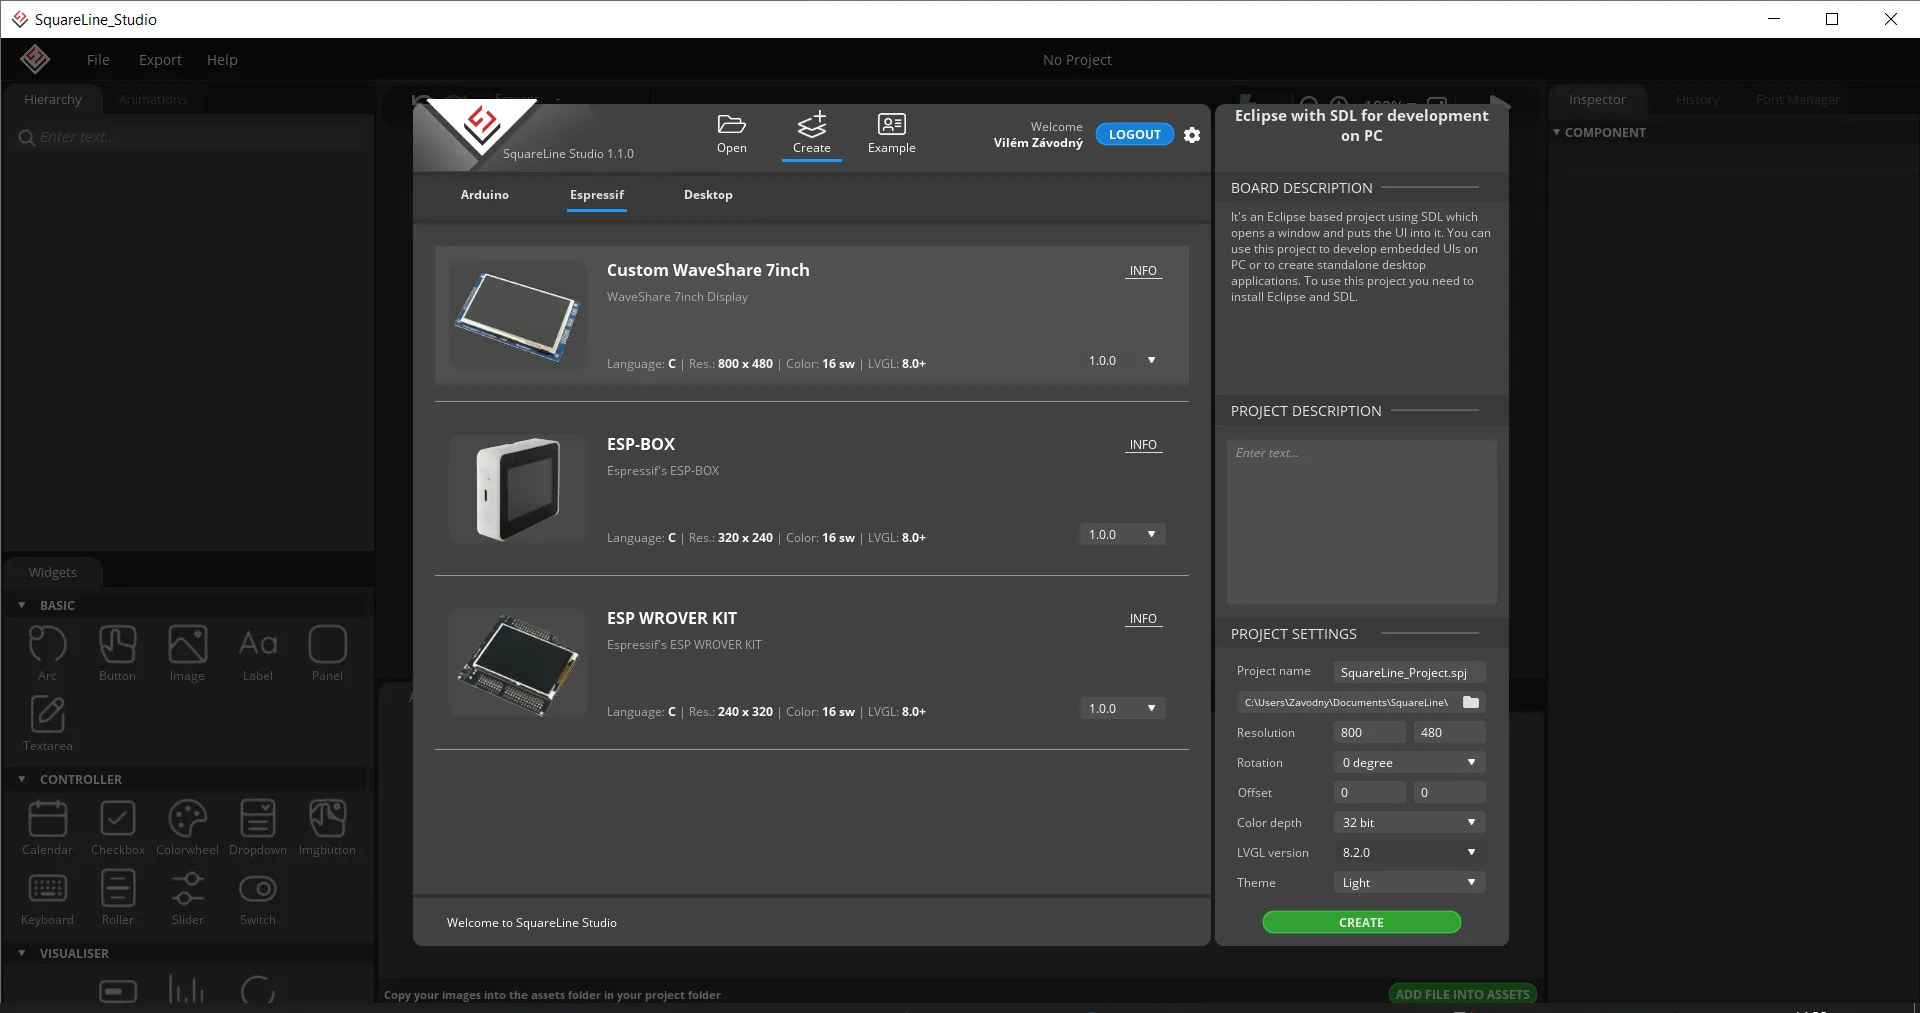
5. Launch the SquareLine Studio#
After launching the SquareLine Studio, you should see your board in the Create tab and Espressif tab. There should be your board name, description and image.
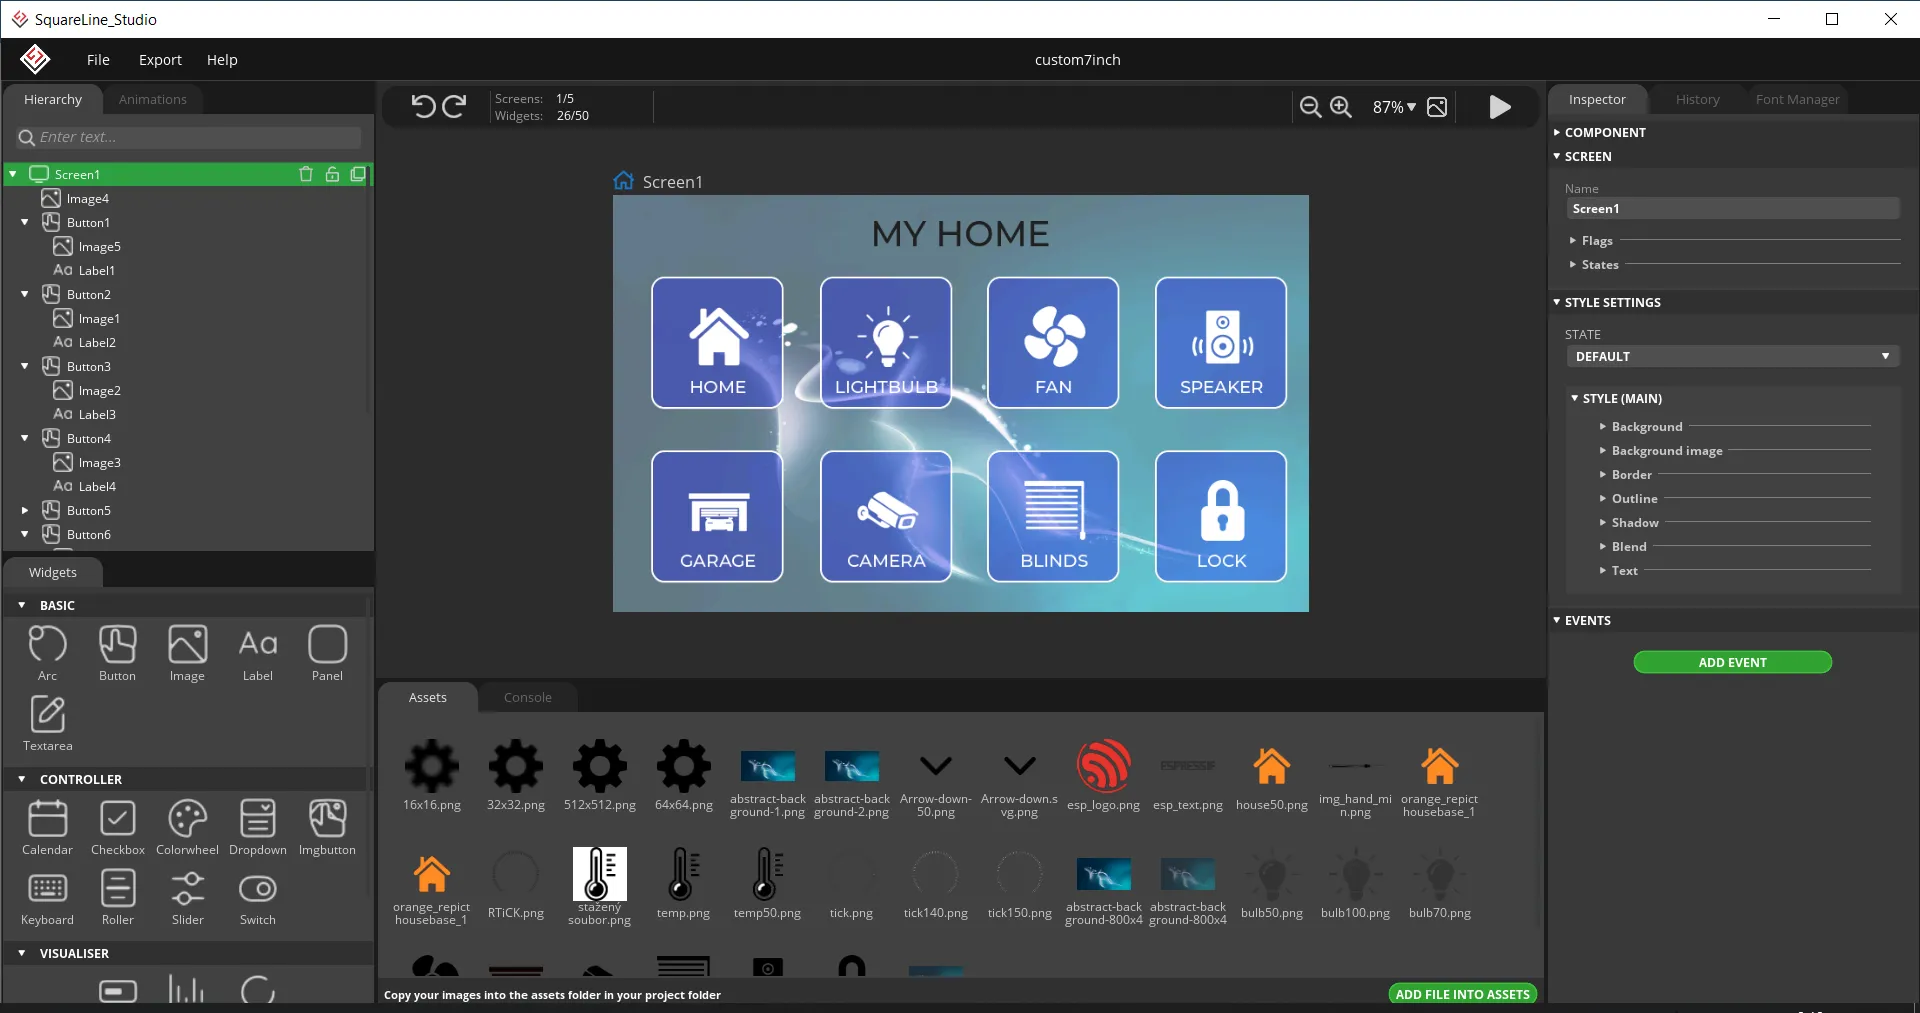
Conclusion#
Now, you can create your own project with the custom board. You can use a lot of widgets from LVGL. I can give the recommendation to you, don’t use zoom in image, if it is not necessary, resize image in another image editor and use in full size. The zoom function can be slower and the bigger image can take a lot of the size of the microcontroller flash memory.
When your project is done, then export the template by selecting Export->Create Template Project in the main menu and export UI files by Export->Export UI Files in the main menu.
The last step is build and flash by command like this:
idf.py -p COM34 flash monitor
The second recommendation is, don’t forget to change the size of the factory partition in the partitions.csv file and change the flash size of your selected module in menuconfig, when you are using bigger images. Or you will see that the built application is too big and there is no space for downloading it.