Integrating OpenAI capabilities into projects has become increasingly trends in today’s fast-paced technological landscape. OpenAI offers a wide range of powerful APIs for natural language processing. However, the process of integrating these APIs can be complex and time-consuming, often requiring substantial effort and expertise. To simplify this integration process, we introduce the OpenAI Component, a powerful library that streamlines the incorporation of OpenAI APIs into projects.
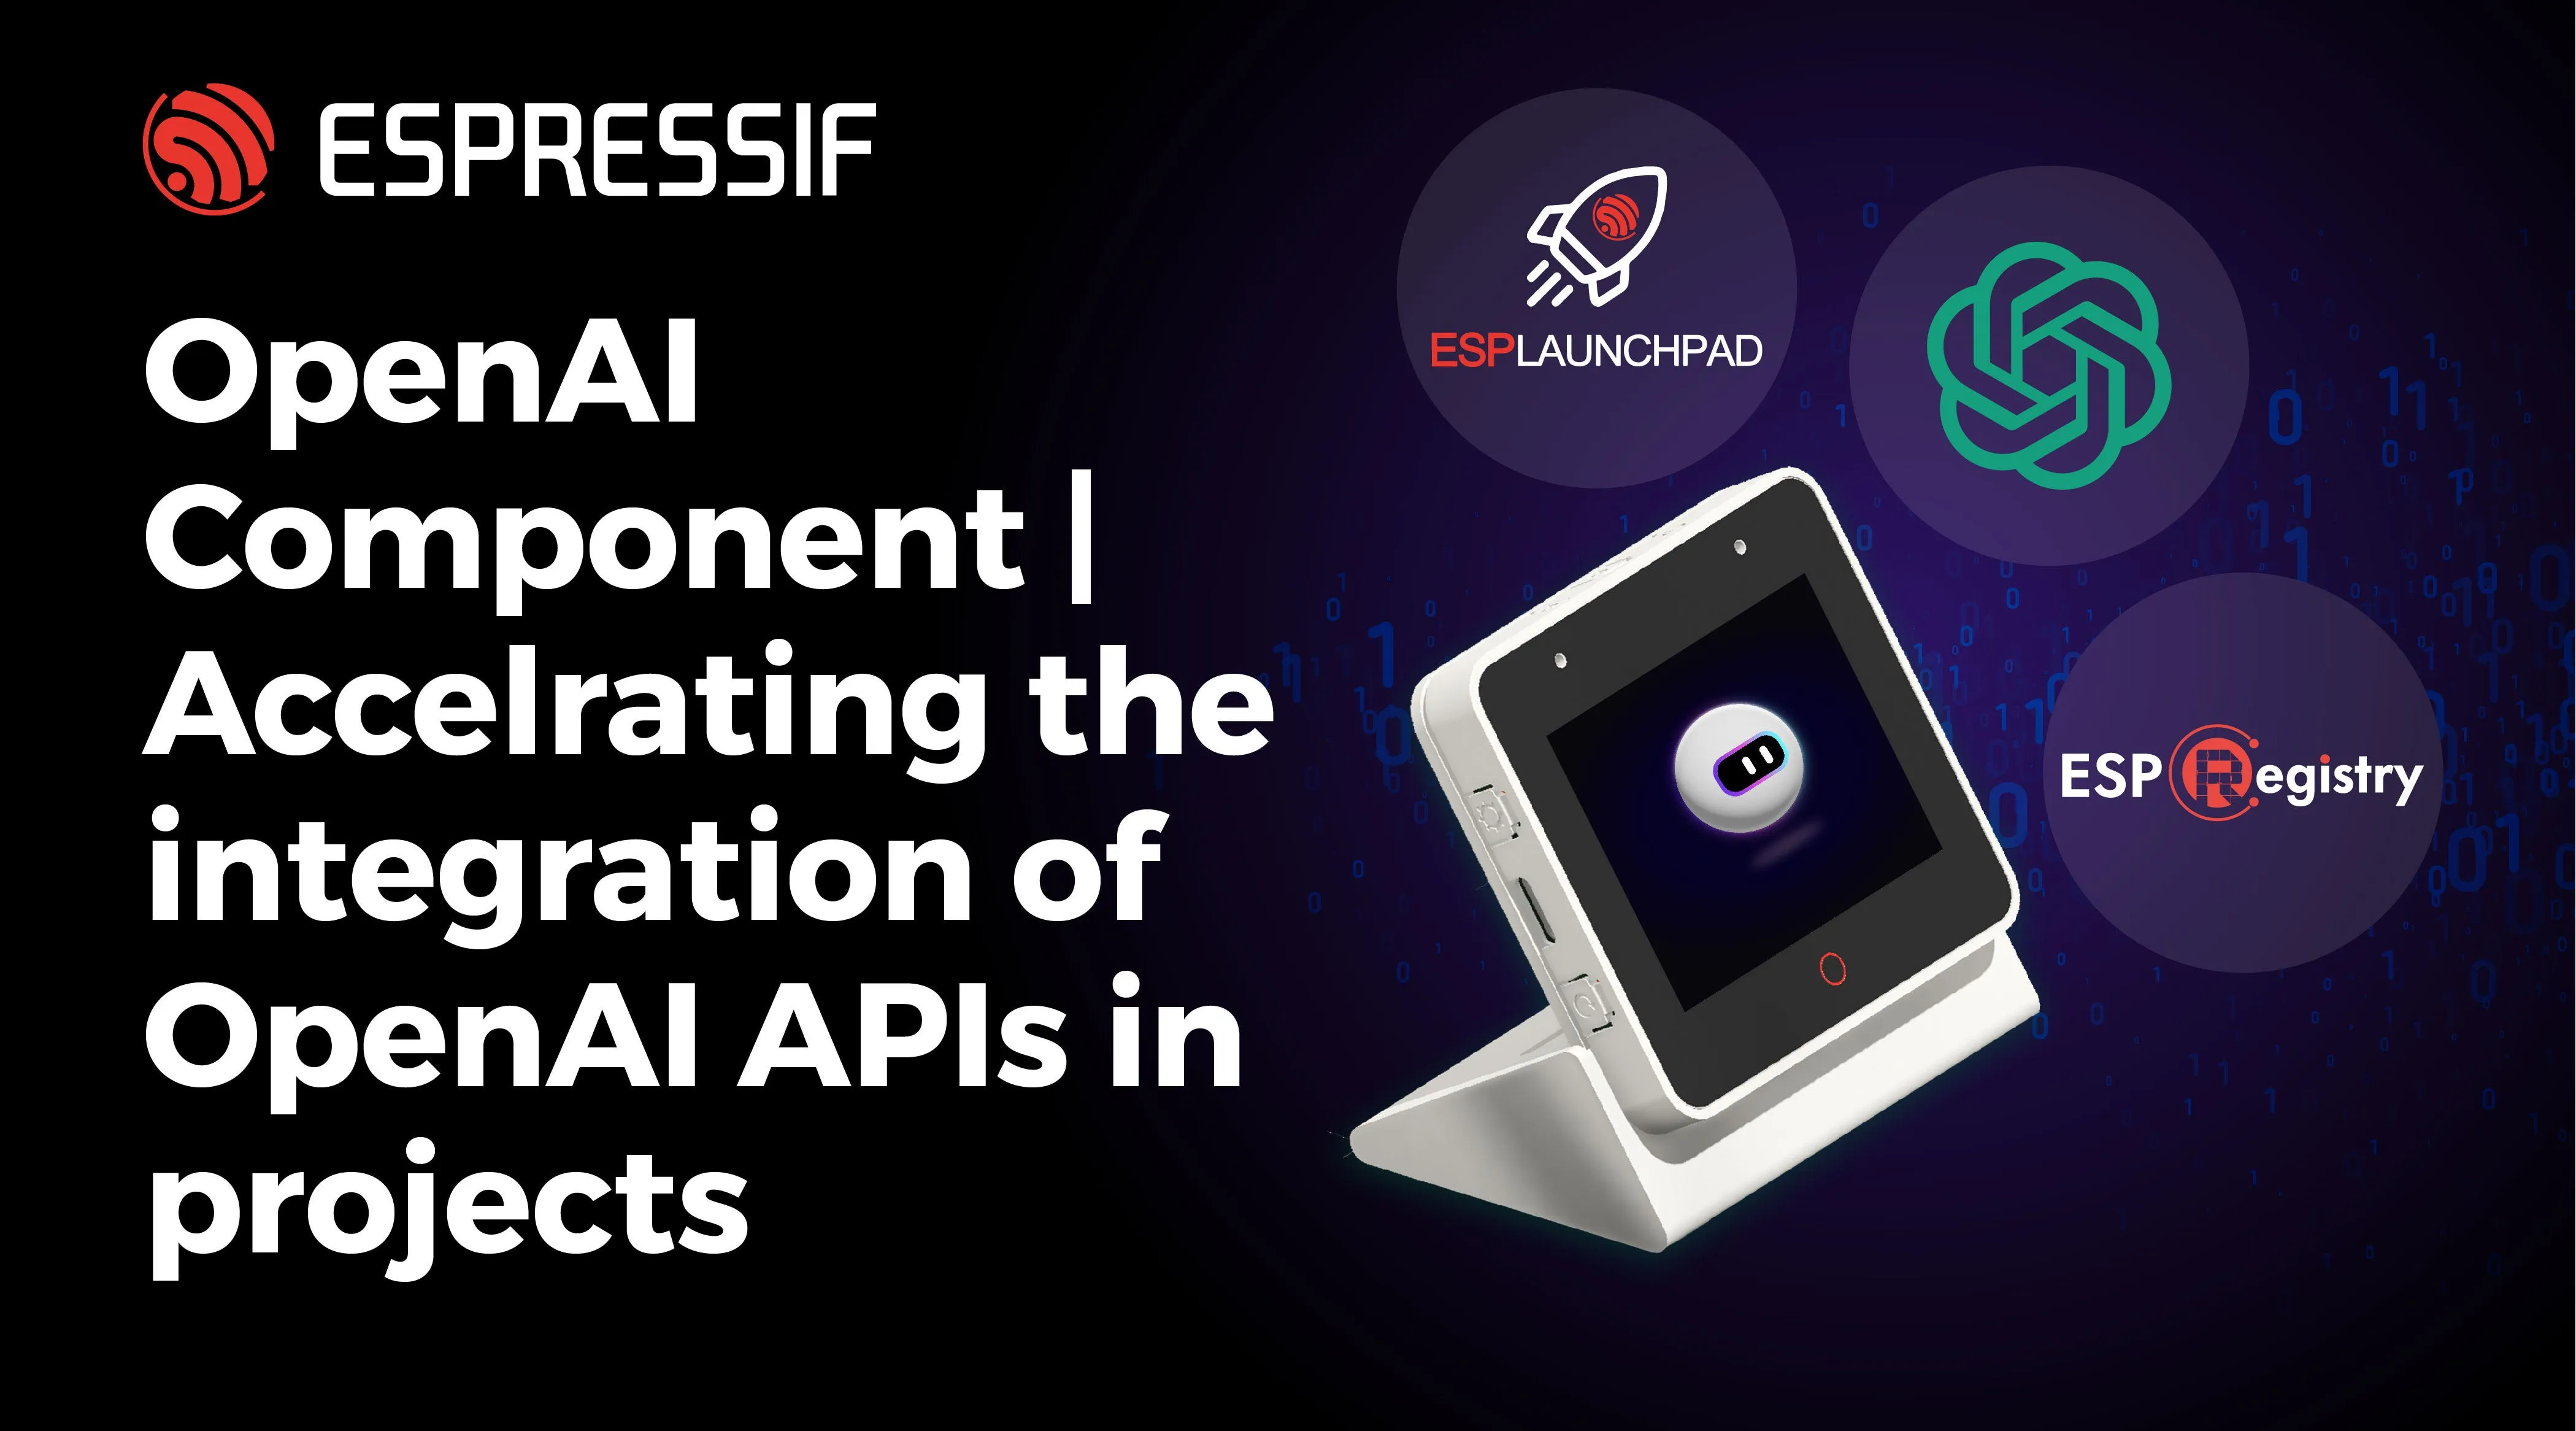
In this article, we will demonstrating how it enables developers to easily add OpenAI capabilities to their projects without having to handle all the implementation tasks.
This article consists of three main sections. The initial section “ESP Component Registry ”provides information on step involve in adding appropriate components into your ESP-IDF project. The second section focuses on providing details about the “OpenAI Component” and the last section gives and update on “ESP-Box * ChatGPT * ” demo example.
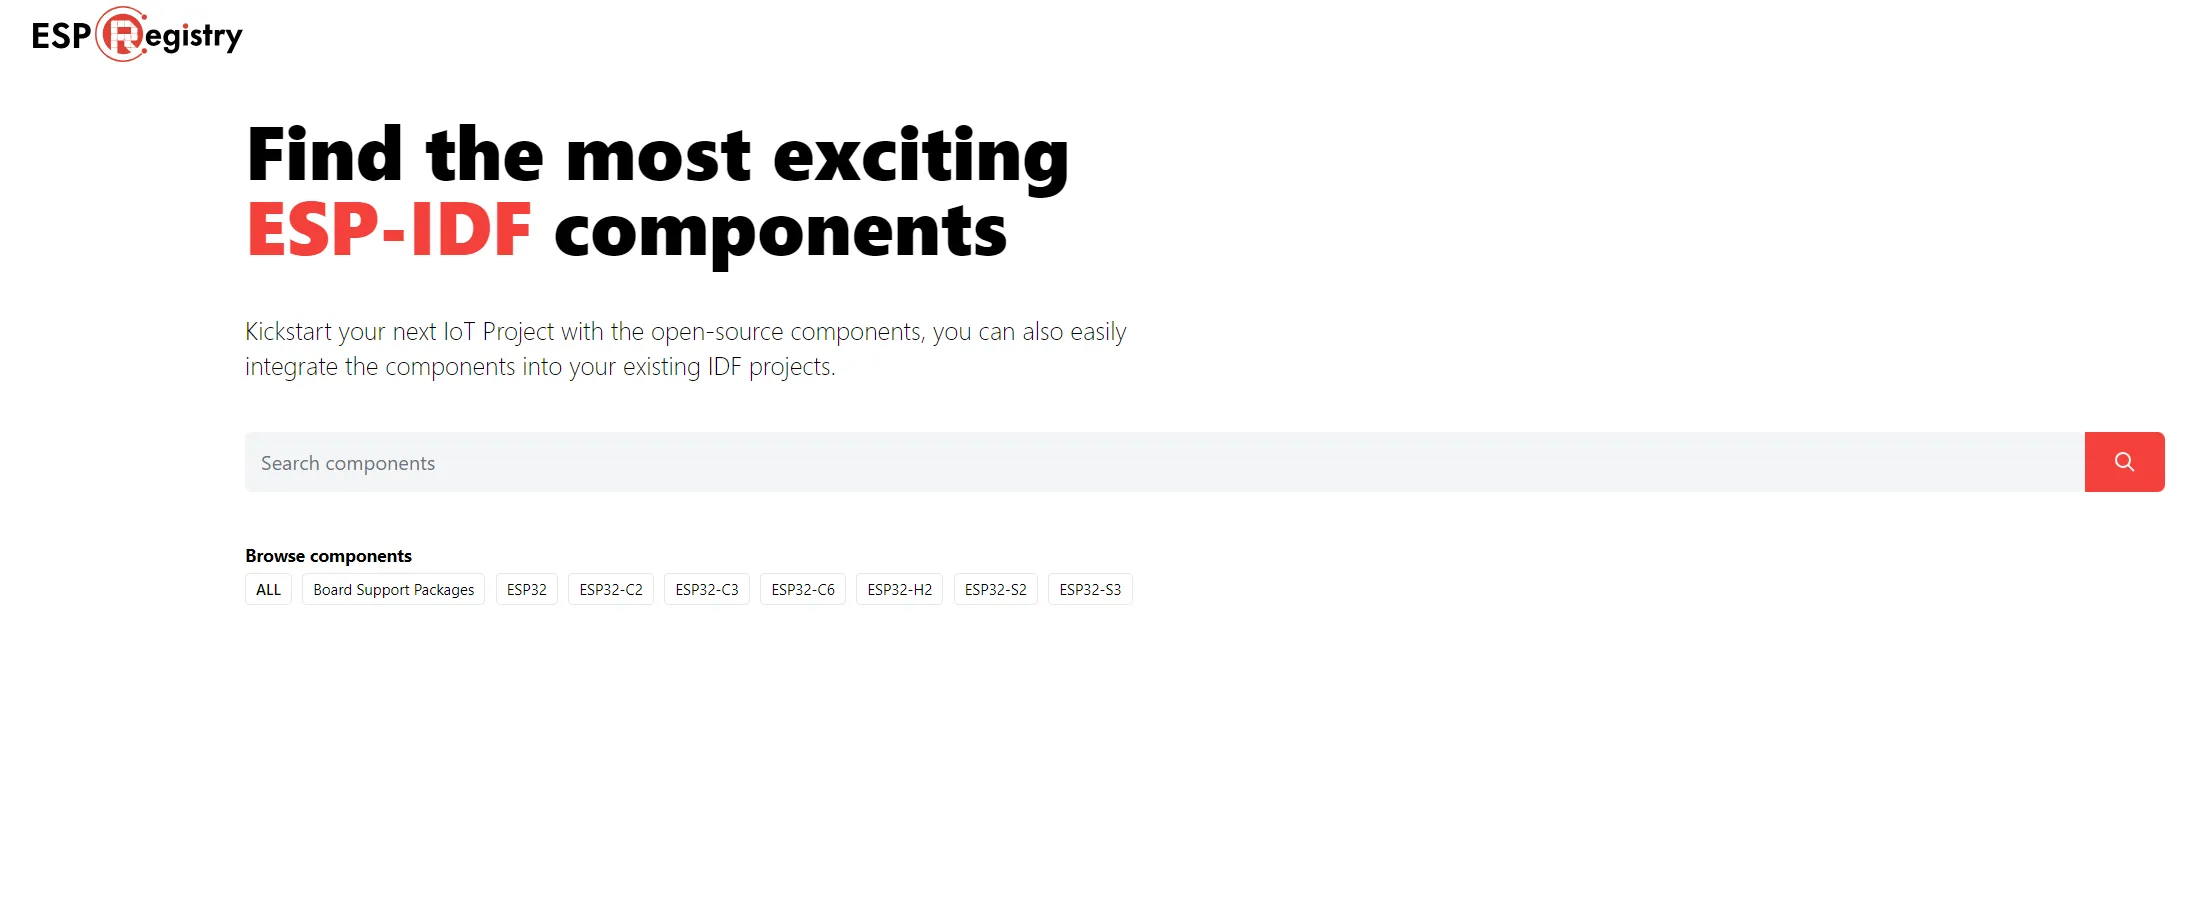
ESP Component Registry#
The ESP Component Registry ____ acts as a central hub for an extensive array of open-source components that can turbocharge your IoT projects. By simply performing a quick search and a few clicks, you can effortlessly obtain the desired components and seamlessly incorporate them into your IDF projects. This efficient workflow expedites your development cycle, enabling you to concentrate on creating groundbreaking IoT solutions without the burden of complex setup procedures.
Steps to Follow#
idf.py add-dependency "espressif/Component name^verison"
OpenAI Component#
To provide developers with comprehensive coverage of OpenAI API features, a simple yet powerful ESP-IDF component is introduced. This component offers extensive support, focusing on a wide range of functionalities while excluding file operations and fine-tuning capabilities. There is comprehensive documentation accessible to assist developers in comprehending the APIs effortlessly.
Usage Example#
The first step is to instantiate an object and provide a secure “API key” as a parameter. The OpenAPI key is accessible through the OPENAI website. To gain access to OpenAI services, you must first create an account, purchase tokens, and obtain your unique API key.
openai = OpenAICreate(key);
After creating the OpenAI object, the code calls the chatCompletion API. It sets the required parameters, sends a message (indicating it’s not the last message), and retrieves the generated response for further use or processing.
chatCompletion = openai->chatCreate(openai);
chatCompletion->setModel(chatCompletion, "gpt-3.5-turbo");
chatCompletion->setSystem(chatCompletion, "Code geek");
chatCompletion->setMaxTokens(chatCompletion, CONFIG_MAX_TOKEN);
chatCompletion->setTemperature(chatCompletion, 0.2);
chatCompletion->setStop(chatCompletion, "\r");
chatCompletion->setPresencePenalty(chatCompletion, 0);
chatCompletion->setFrequencyPenalty(chatCompletion, 0);
chatCompletion->setUser(chatCompletion, "OpenAI-ESP32");
OpenAI_StringResponse_t *result = chatCompletion->message(chatCompletion, "Hello!, World", false); //Calling Chat completion api
char *response = result->getData(result, 0);
Similarly, after instantiating the OpenAI object, the code calls the audioTranscriptionCreate API. It sets the necessary parameters, such as the audio file and language, followed by initiating the audio transcription process. Finally, it retrieves the transcription result for further use or processing.
audioTranscription = openai->audioTranscriptionCreate(openai);
audioTranscription->setResponseFormat(audioTranscription, OPENAI_AUDIO_RESPONSE_FORMAT_JSON);
audioTranscription->setLanguage(audioTranscription,"en");
audioTranscription->setTemperature(audioTranscription, 0.2);
char *text = audioTranscription->file(audioTranscription, (uint8_t *)audio, audio_len, OPENAI_AUDIO_INPUT_FORMAT_WAV); // Calling transcript api
To explore more APIs and their functionalities, please refer to the documentation.
ESP-BOX ChatGPT Demo Example#
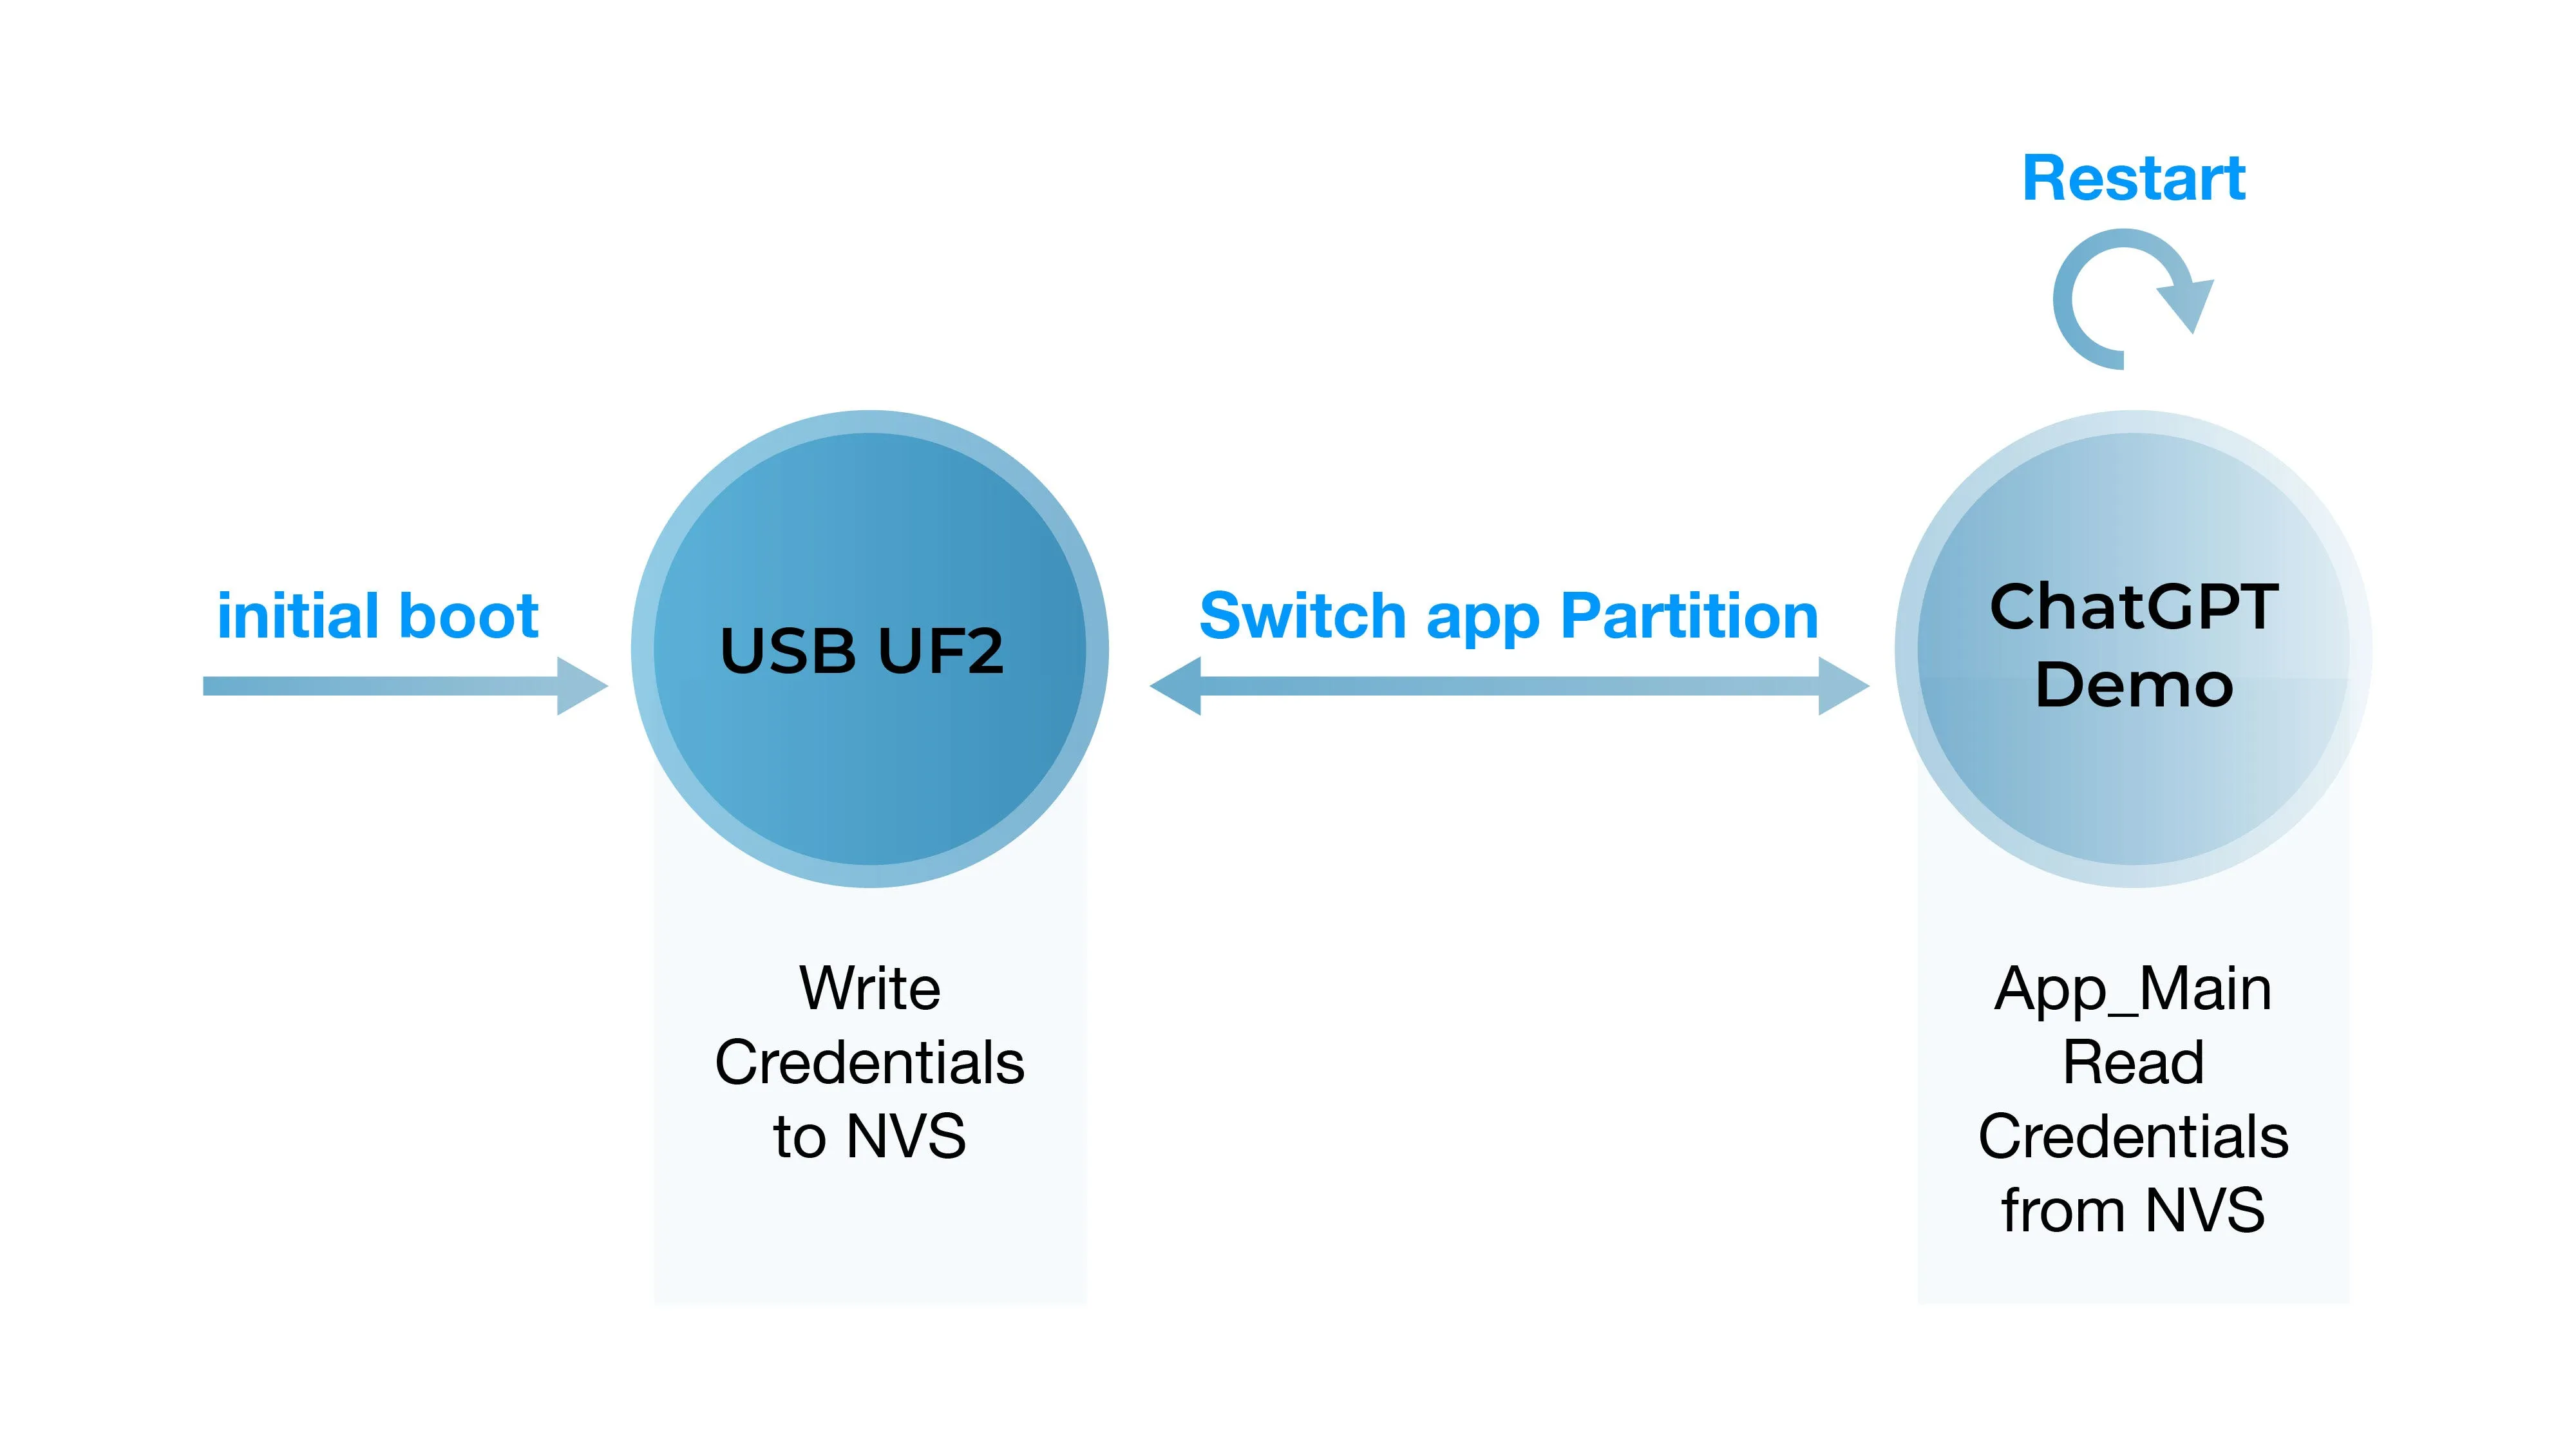
The updated version of the ESP-BOX ChatGPT example incorporates the OpenAI component, replacing the older version. Further details on the development process can be found in the Blog. Notably, in the newer version, we have implemented a secure method to store the Wi-Fi and OpenAI keys in non-volatile storage (NVS) using a esp_tinyuf2 component.
During the initial boot, the first binary is executed, allowing the user to enter secure credentials such as Wi-Fi and OpenAI keys. Once the credentials are entered, the system restarts, and the ChatGPT binary takes control. This binary is responsible for running the ChatGPT functionality, utilizing the secure credentials provided during the initial boot. The workflow for this process is illustrated in the figure below, providing an overview of the overall process.
Additionally, users have the option to try out the newer version of the ESP-BOX ChatGPT example using the ESP-Launchpad without the need to compile the project locally on the machines. This option offers a convenient means for individuals to experience the improvements and advancements made in the implementation.

