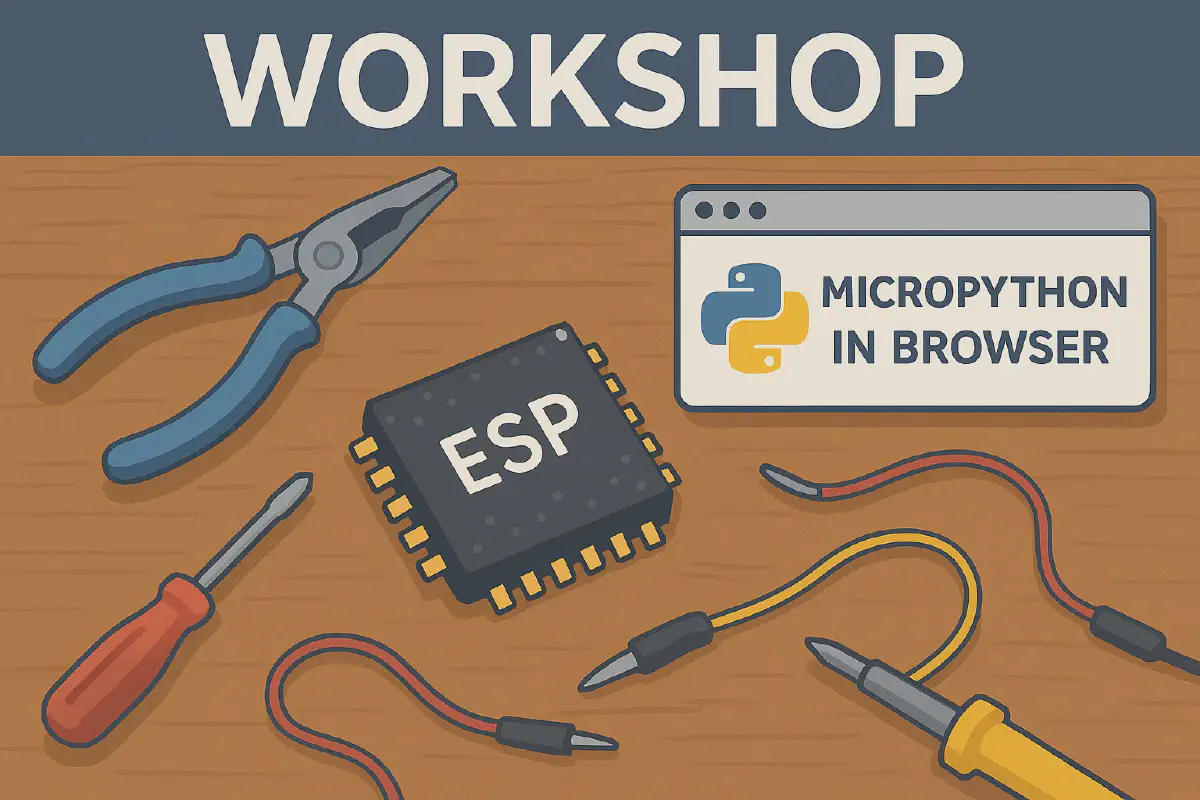
Welcome to the workshop on MicroPython Jupyter Notebooks in the browser! In this session, you will see how modern web technologies enable direct hardware programming without the need to install local development tools. You’ll learn how to flash firmware, execute code interactively, and build IoT applications using only a browser and a USB connection.
About the workshop
#This workshop covers both basic and advanced MicroPython programming for ESP32-C3-DevKit-RUST-2 development board through hands-on assignments:
- Setup - Flash MicroPython firmware and understand the development environment
- Assignment 1: Blink – Control addressable LED
- Assignment 2: Button Input – Read button presses and create interactive responses
- Assignment 3: ESP-NOW Communication – Implement wireless Morse code communication between two ESP32-C3-DevKit-RUST-2 development boards
- Assignment 4: IMU Sensor and MQTT Communication – Read orientation data from an IMU and publish it to MQTT broker
Prerequisites
#Hardware
#- A computer running Windows, macOS or Linux
- ESP32-C3-DevKit-RUST-2 board (Provided by us)
- USB-C cable (data + power) compatible with the board
Software
#- Chromium-based browser (Google Chrome, Microsoft Edge, Opera, Brave, Vivaldi)
- Mosquitto client (Optional)
Effort
#Workshop
#Without further ado, let’s dive into the exciting world of ESP microcontrollers and MicroPython! Please follow along as we explore the capabilities of this powerful platform.
Conclusion
#You’ve learned to program ESP32-C3-DevKit-RUST-2 development board using browser-based Jupyter notebooks, covering:
- MicroPython firmware flashing and interactive development
- GPIO control for LEDs and button input
- ESP-NOW wireless communication protocol
- IMU sensor data acquisition and processing
- MQTT protocol for IoT messaging
These skills form the foundation for building sophisticated IoT applications. The browser-based approach eliminates toolchain complexity while maintaining full access to MicroPython’s capabilities.
FAQ
#- I have been prompted to select a kernel in Jupyter Notebook. Which one should I use?
- How do I connect my device to the Jupyter notebook?
- Click on the ESP Control Panel, click
Connect and select your device.
- Which of the devices is my ESP board?
- The ESP board usually appears as
USB JTAG.
- I cannot connect to a different Jupyter notebook.
- Disconnect from the previous notebook and connect the new one.
- The notebook isn’t running my code, what should I do
- In the ESP Control Panel, click
Disconnect device, then reopen the notebook and connect again.