

In this part you will use the browser-based Studio to design a complete RainMaker device data model for a Rainbow LED and download a ready-to-build ESP-IDF project.
Step 1: Open Studio#
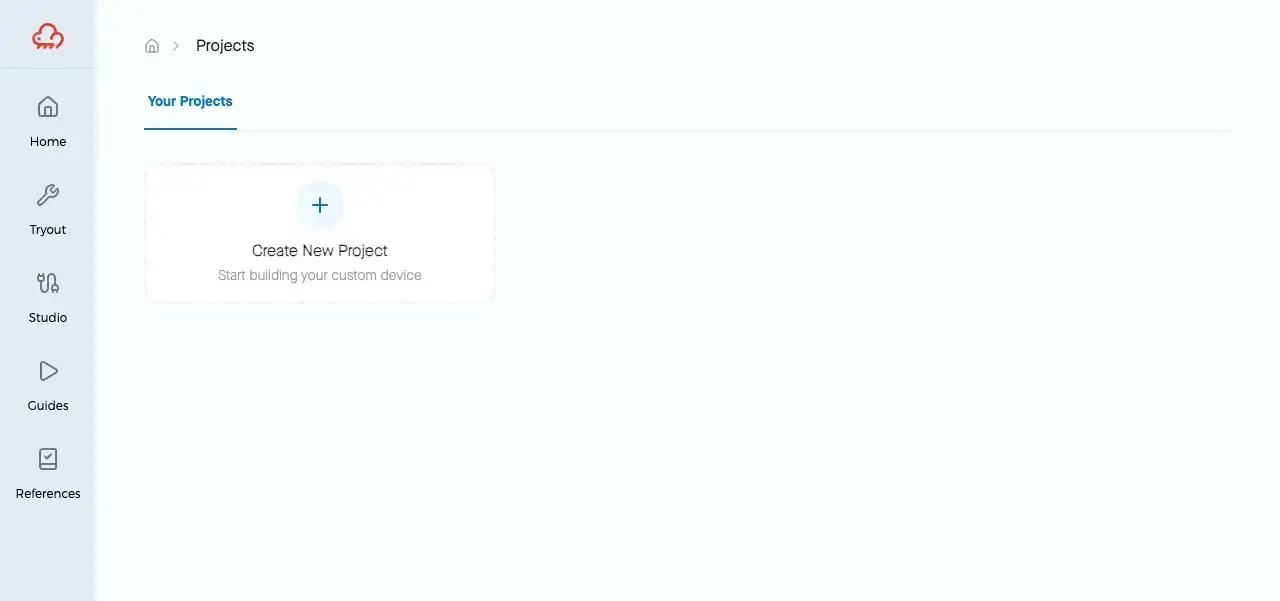
Go to https://evaluation.rainmaker.espressif.com and click Build Now under the ESP RainMaker Studio section, or click Studio in the top navigation.
This opens the Your Projects page.
Step 2: Create a New Project#
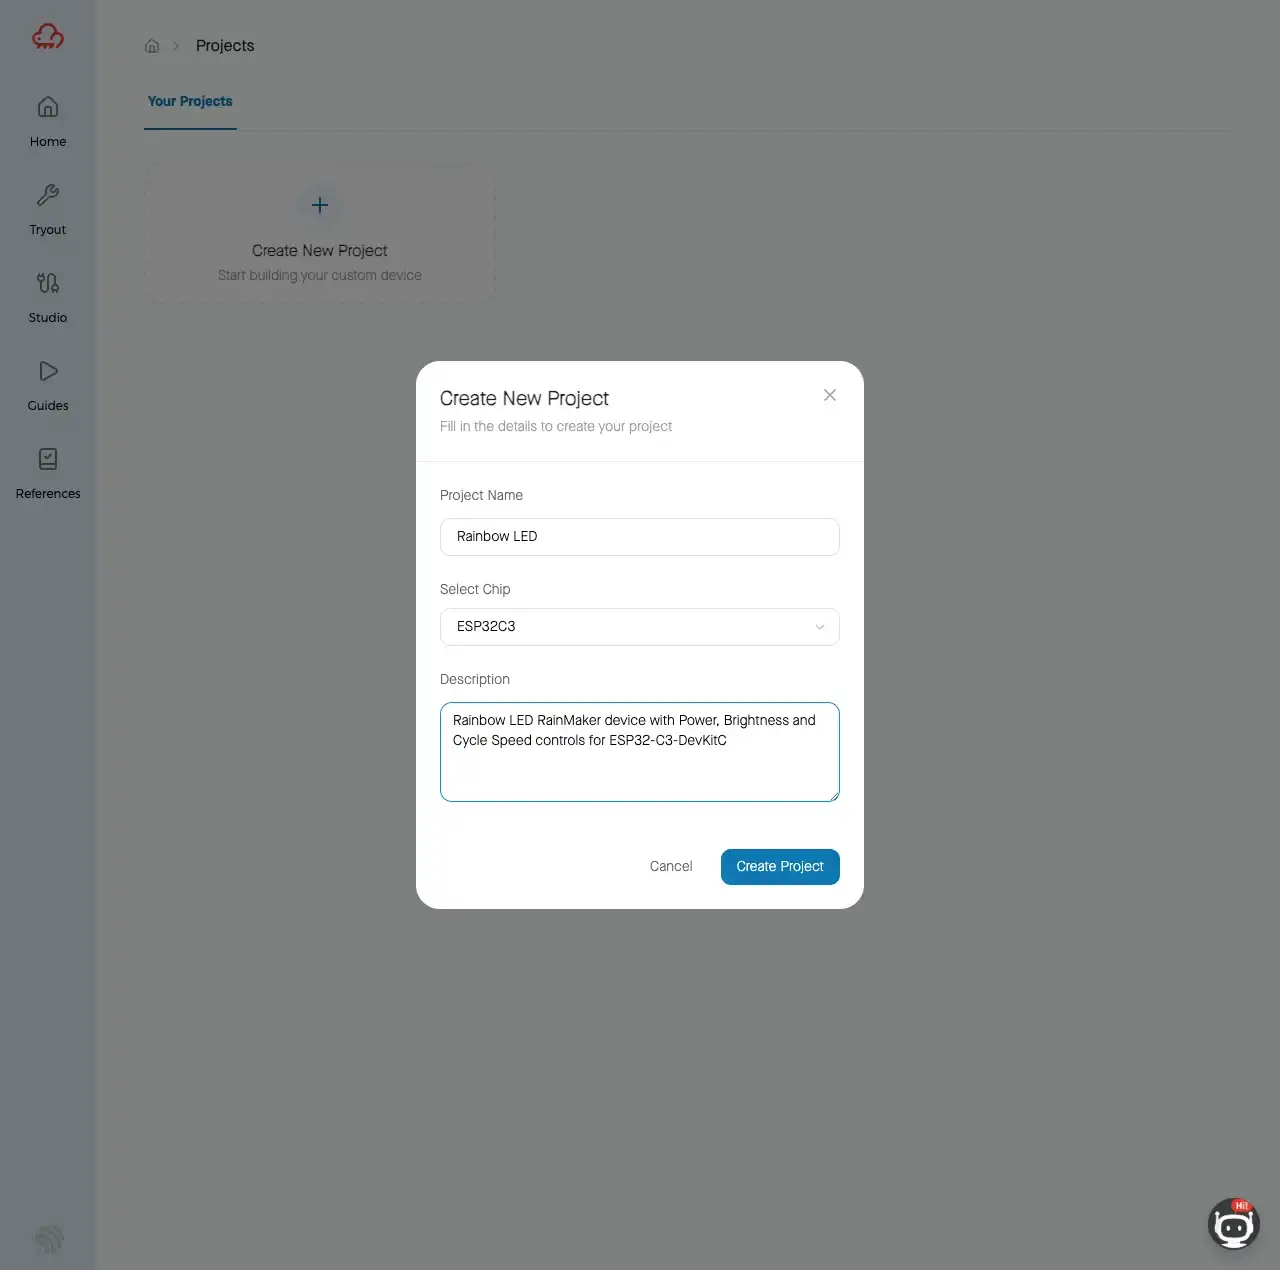
Click the Create New Project card and fill in the dialog:
| Field | Value for this example |
|---|---|
| Project Name | Rainbow LED |
| Select Chip | Type C3 and select ESP32C3 |
| Description | (optional) Rainbow LED RainMaker device with Power, Brightness, and Cycle Speed controls |
Click Create Project.
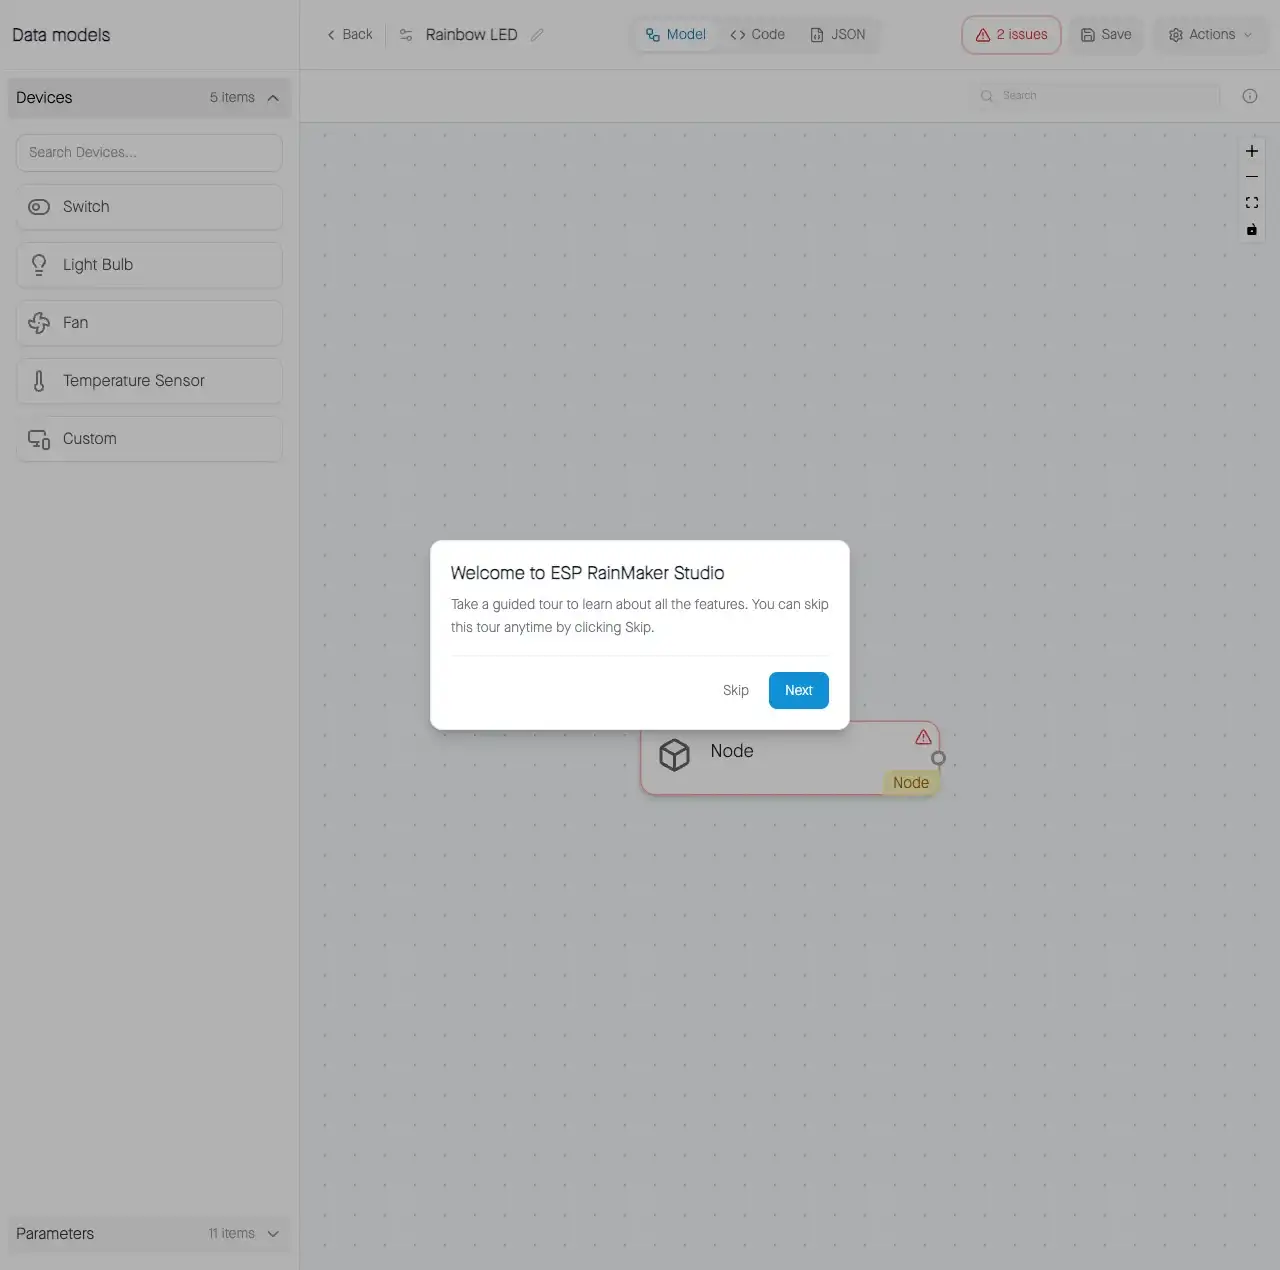
The editor opens with a single Node block on the canvas and shows a Welcome to ESP RainMaker Studio guided tour on your first visit. Follow the tour to become familiar with the layout.
Step 3: Add a Custom Device#
The left sidebar is the Component Library with two sections:
- Devices: pre-built device templates (Switch, Light Bulb, Fan, Temperature Sensor, Custom)
- Parameters: pre-built parameter templates (Power, Brightness, Color Hue, etc., plus Custom)
For the Rainbow LED, use a Custom device because there is no standard “rainbow LED” device type in RainMaker.
Drag the Custom device from the Devices section onto the canvas. A new device block labelled “Custom / Device” appears.
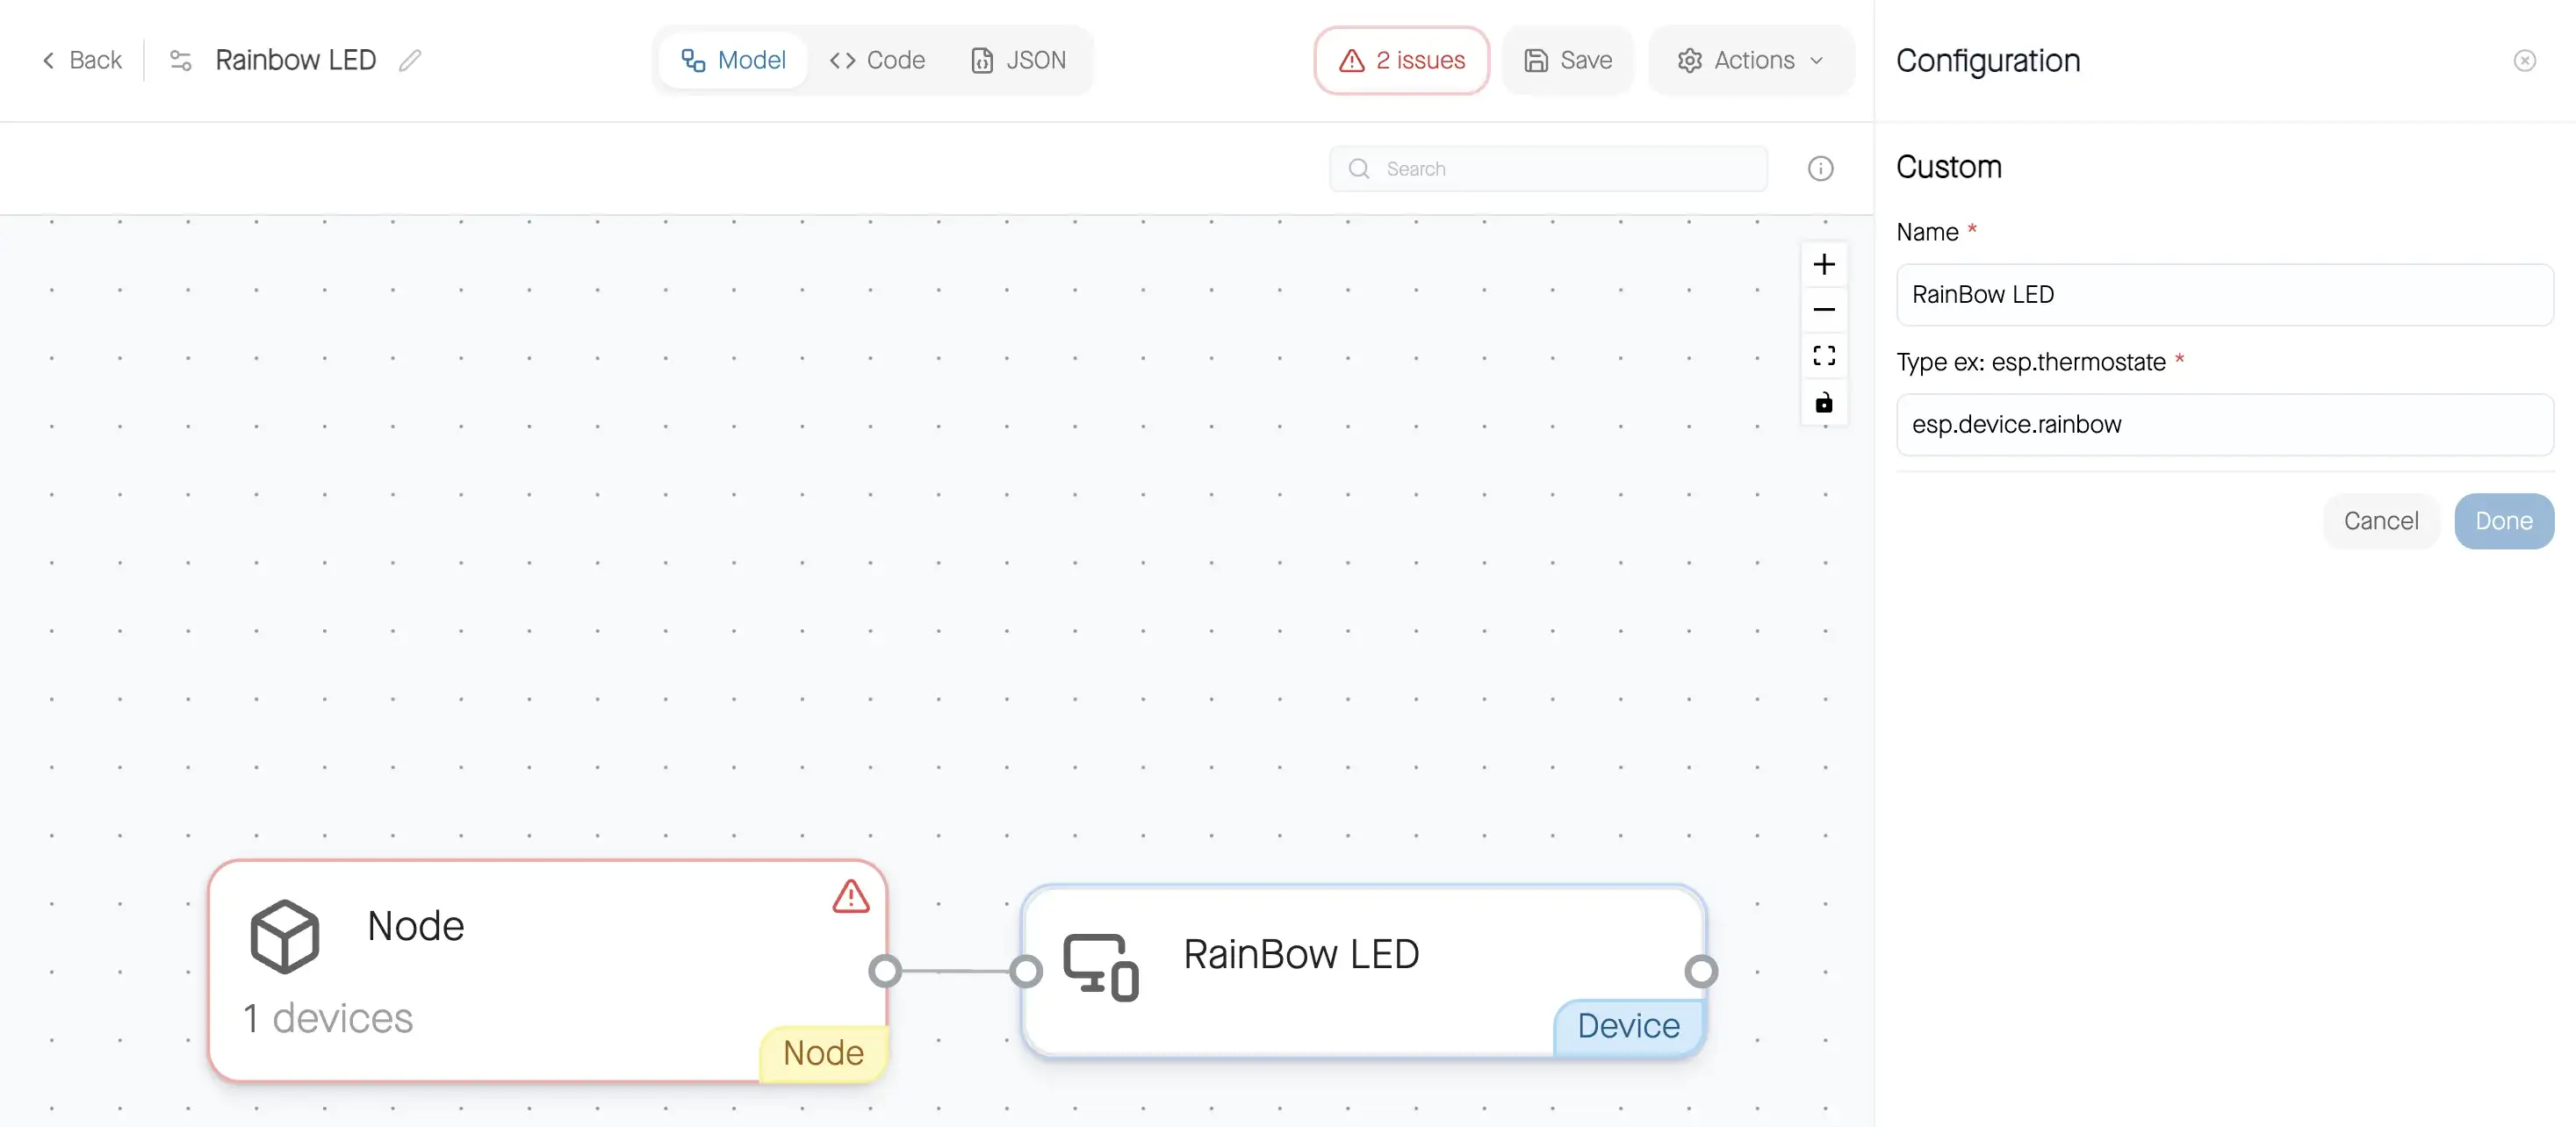
Click the device block to open its Configuration panel on the right. Set:
| Field | Value |
|---|---|
| Name | Rainbow LED |
| Type | esp.device.rainbow |
Click Done. The block label updates to Rainbow LED.
Step 4: Add Parameters#
Drag the following items from the Parameters section of the left sidebar and connect each one to the Rainbow LED device by dragging from the parameter’s left handle to the device’s right handle.
Power#
Drag Power onto the canvas and connect it to Rainbow LED. Click it and confirm:
| Field | Value |
|---|---|
| Name | Power |
| Type | esp.param.power (pre-filled) |
| Default Power State | unchecked (off) |
Click Done.
Brightness#
Drag Brightness onto the canvas and connect it to Rainbow LED. Click it and confirm:
| Field | Value |
|---|---|
| Name | Brightness |
| Type | esp.param.brightness (pre-filled) |
| Default value | 30 |
Click Done.
Cycle Speed (Custom Parameter)#
Drag Custom from the Parameters section onto the canvas and connect it to Rainbow LED. Click it and set:
| Field | Value |
|---|---|
| Name | Cycle Speed |
| Data Type | Number |
| Min | 1 |
| Max | 10 |
| Step | 1 |
| Default value | 5 |
| Type | esp.param.cycle_speed |
| UI Type | esp.ui.slider |
Click Done.
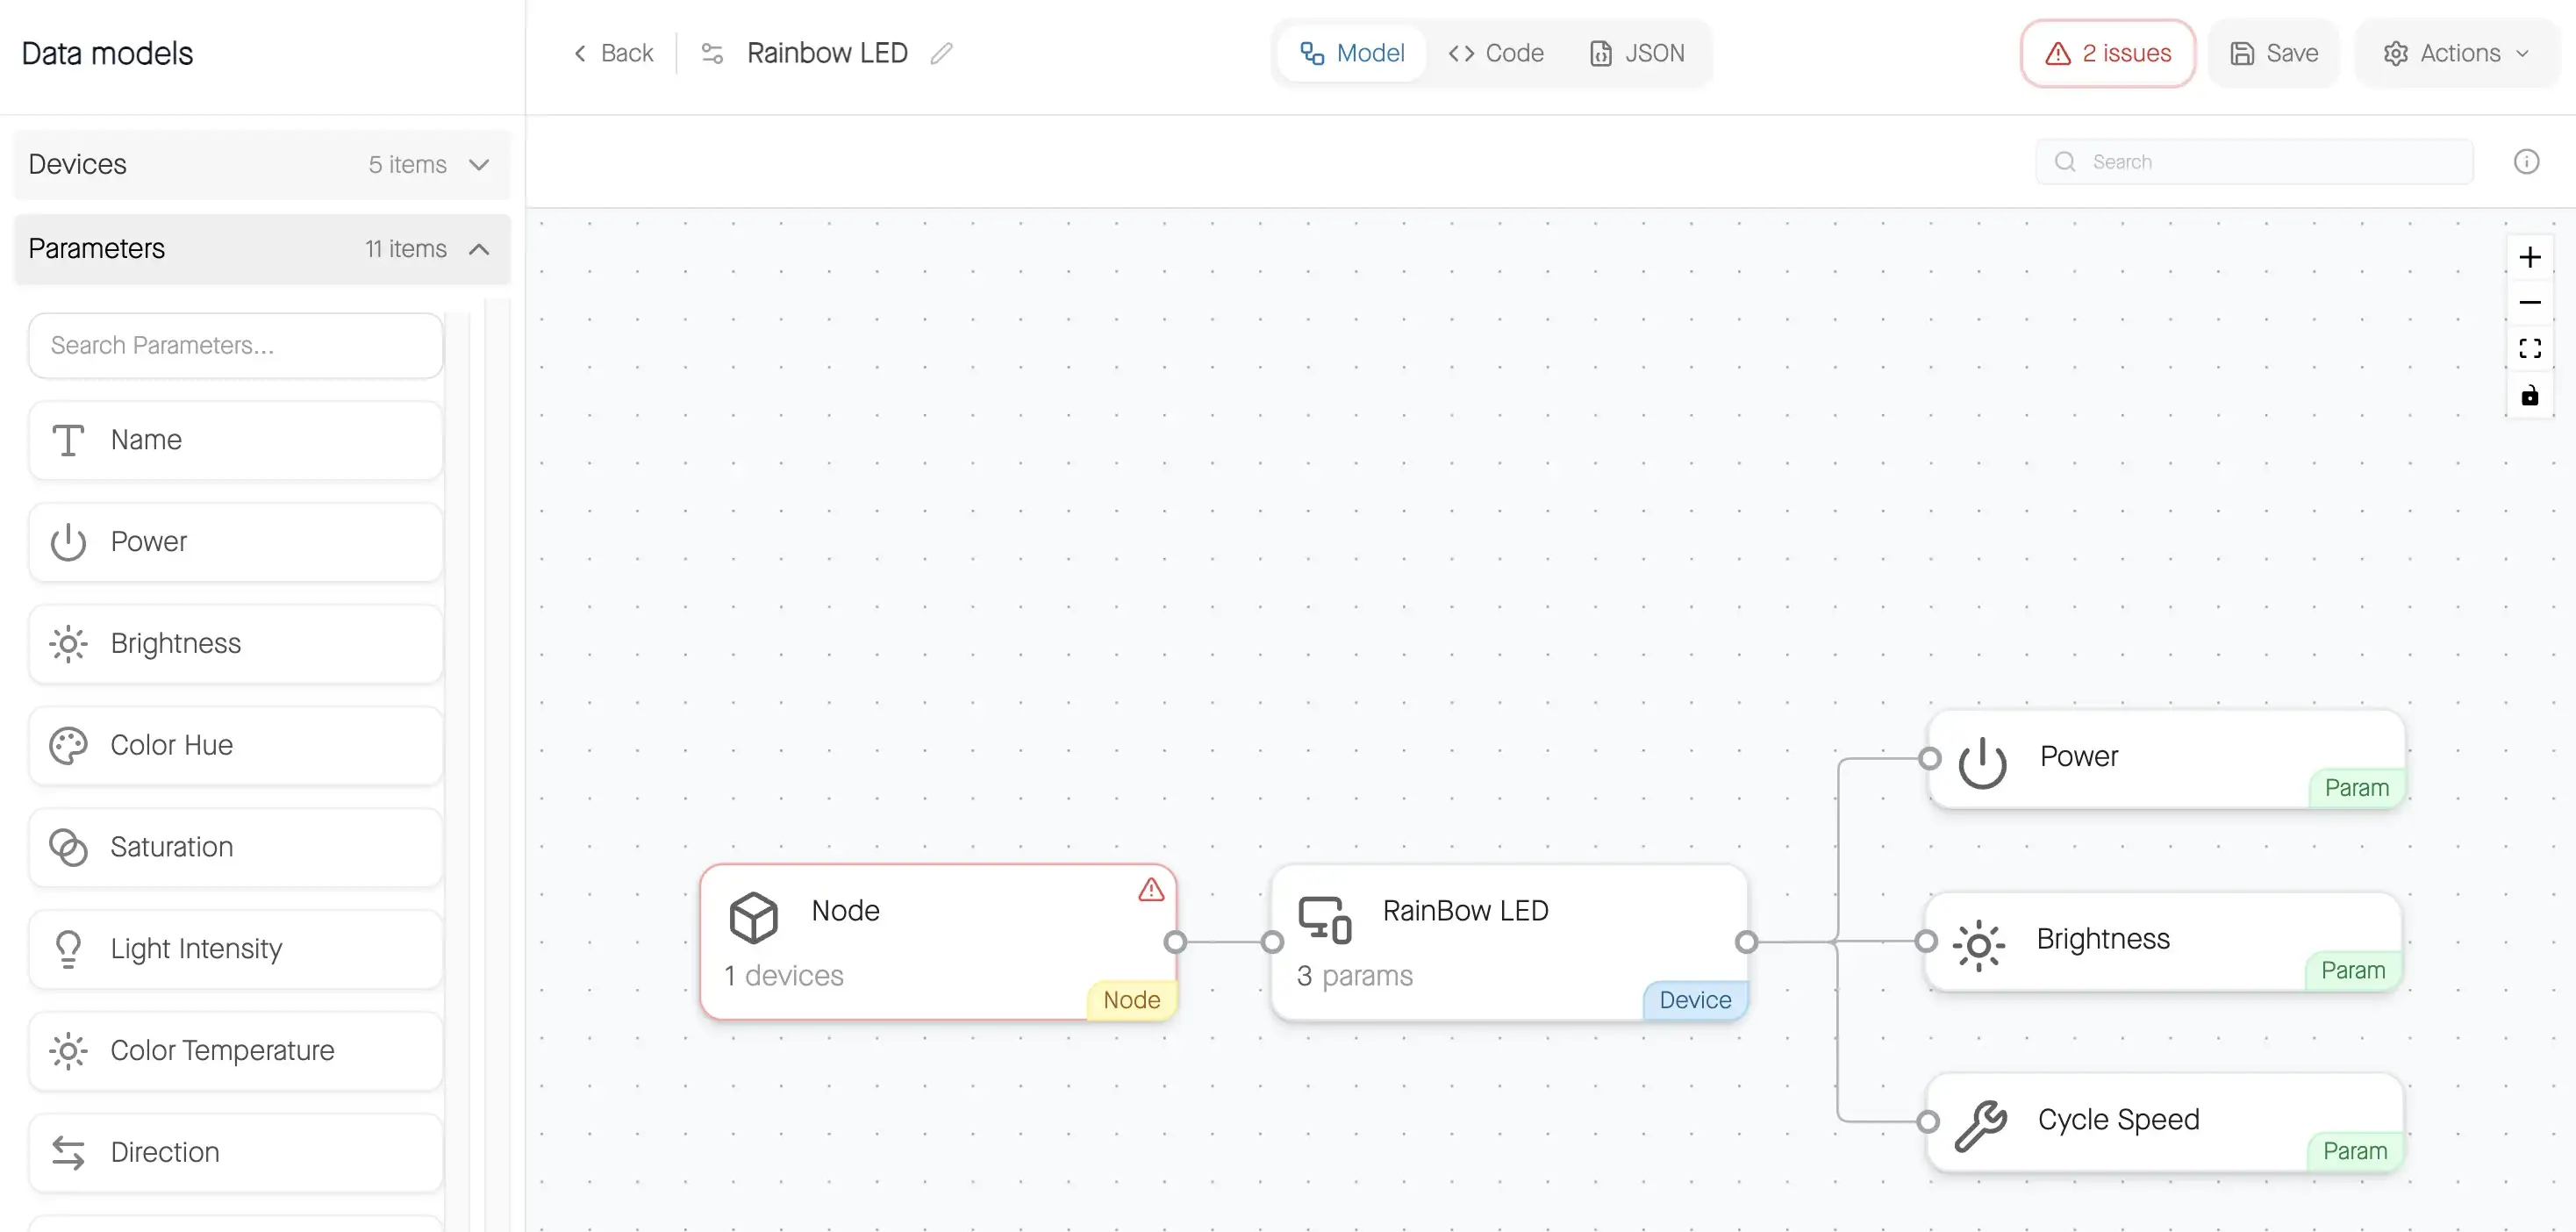
The canvas now shows the complete hierarchy: Node → Rainbow LED → Power, Brightness, Cycle Speed.
Step 5: Configure the Node#
Click the Node block (marked with a red warning triangle because required fields are missing). Set:
| Field | Value |
|---|---|
| Model | Node |
| Type | rainbowled |
Click Done. The warning triangle disappears and the issues counter drops to zero. The custom data model for the device is now complete.
Step 6: Review JSON and Generated Code#
Click the JSON tab in the top toolbar to inspect the full RainMaker node configuration that Studio has built from your model.
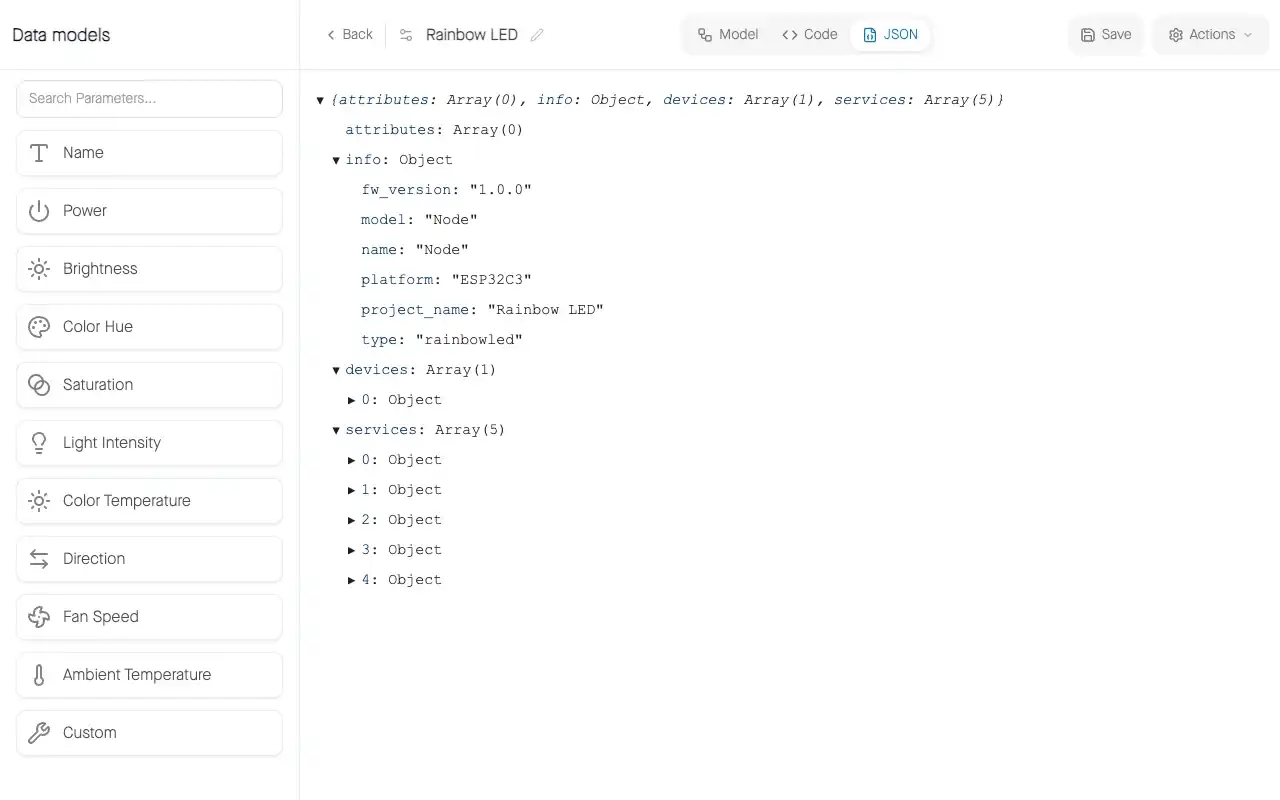
Key fields visible in the JSON:
info.model:        "Node"
info.type:         "rainbowled"
info.platform:     "ESP32C3"
info.project_name: "Rainbow LED"
devices[0]:        Rainbow LED (esp.device.rainbow)
  params:          Power, Brightness, Cycle Speed
services[0..4]:    OTA, timezone, schedule, scenes, system
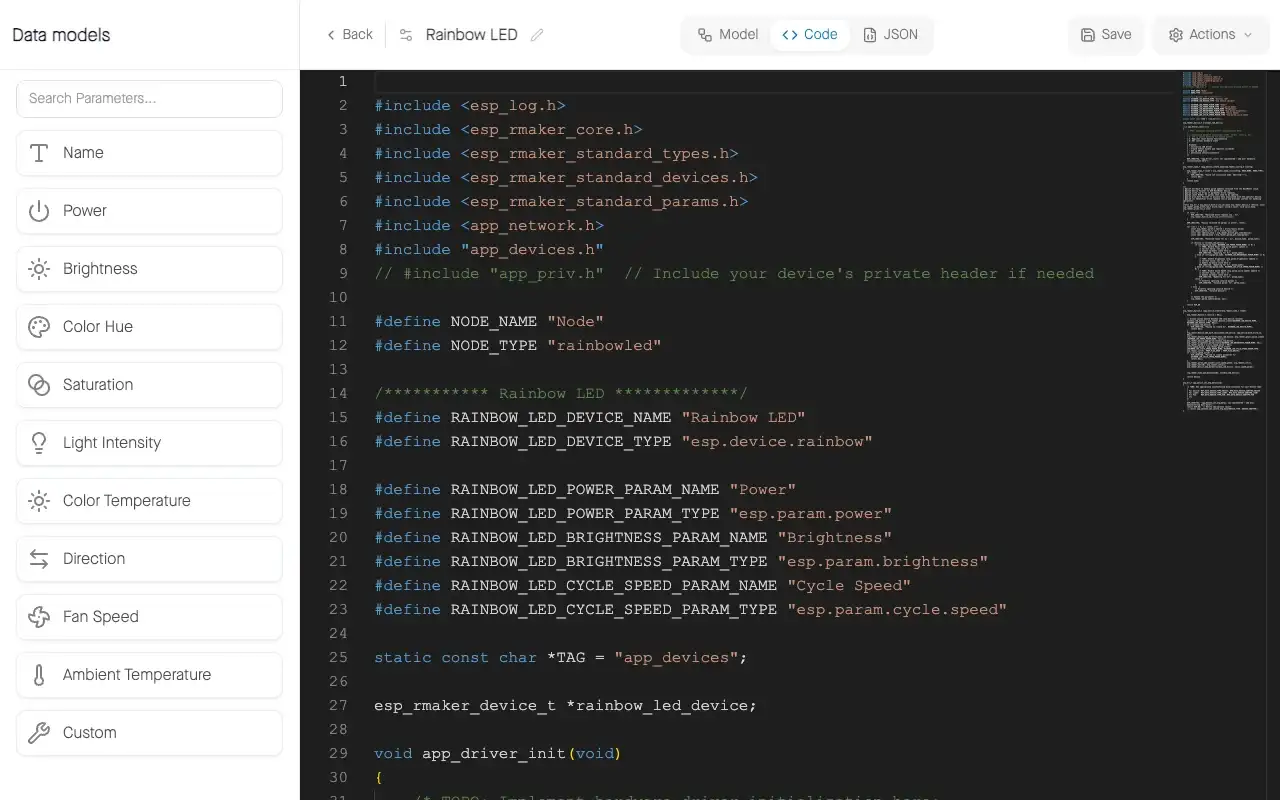
Click the Code tab to preview the generated app_devices.c. You can see all the #define constants, esp_rmaker_device_create(), esp_rmaker_power_param_create(), esp_rmaker_brightness_param_create(), and the Cycle Speed custom param with bounds, all pre-written from your visual model.
Step 7: Choose Your Action Path#
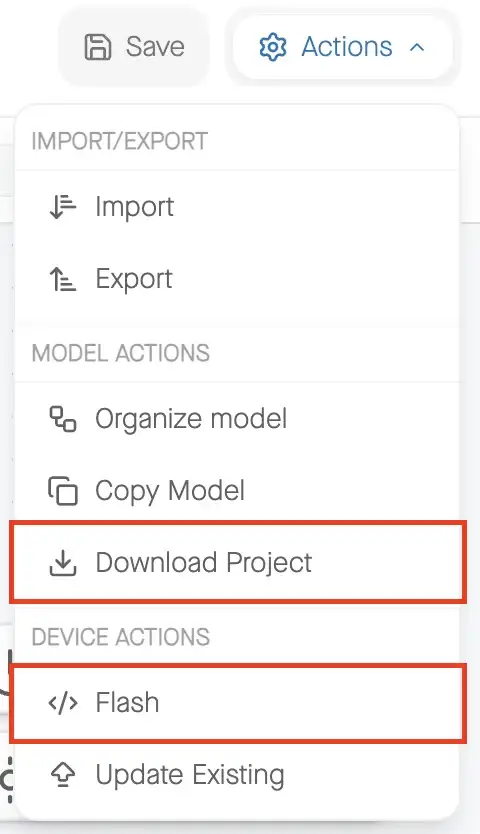
Click Actions in the top-right corner. You have two paths:
Other available options
| Option | Description |
|---|---|
| Import | Import a Studio project into the current session |
| Export | Export the current Studio project |
| Organize Model | Automatically arrange the model layout |
| Copy Model | Copy the node_config.json data model |
| Update Existing | Update the data model on a previously flashed device |
Path A: Flash the Pre-built Binary#
Test how your custom device interacts with the ESP RainMaker Home app without writing any code:
- Select Actions → Flash under Device Actions.
- ESP Device Flasher opens in your browser.
- Follow the Device Setup Instructions to flash your ESP device and monitor its output in the console log on the browser.
- Download the ESP RainMaker Home app to provision and control the device.
Path B: Download the Project (continue to Part 2)#
- Click Save to persist the model in your browser.
- Click Actions → Download Project. This downloads a file named
rainbow_led.zip. Extract it to a folder on your machine. - Continue to Part 2 to explore the project layout and implement the hardware driver.